How to make your own collection of Arbor functions and workflows
When working in Arbor, you will be uploading your own data, and may want to create your own functions and workflows. Everything in Arbor is organized into collections (for example, the phylogeny and base collections). You can create your own collection to store data and workflows. Later I will discuss how you can share any items in your collection with colleagues.
Get started
You will need to open the Arbor web app. For this exercise, you will need to log in; your user name should match the personal part of the email address you used to register for the meeting. For example, if your registration email is lukeh@uidaho.edu, then your user name is lukeh. Your password will be given to you by the instructor.
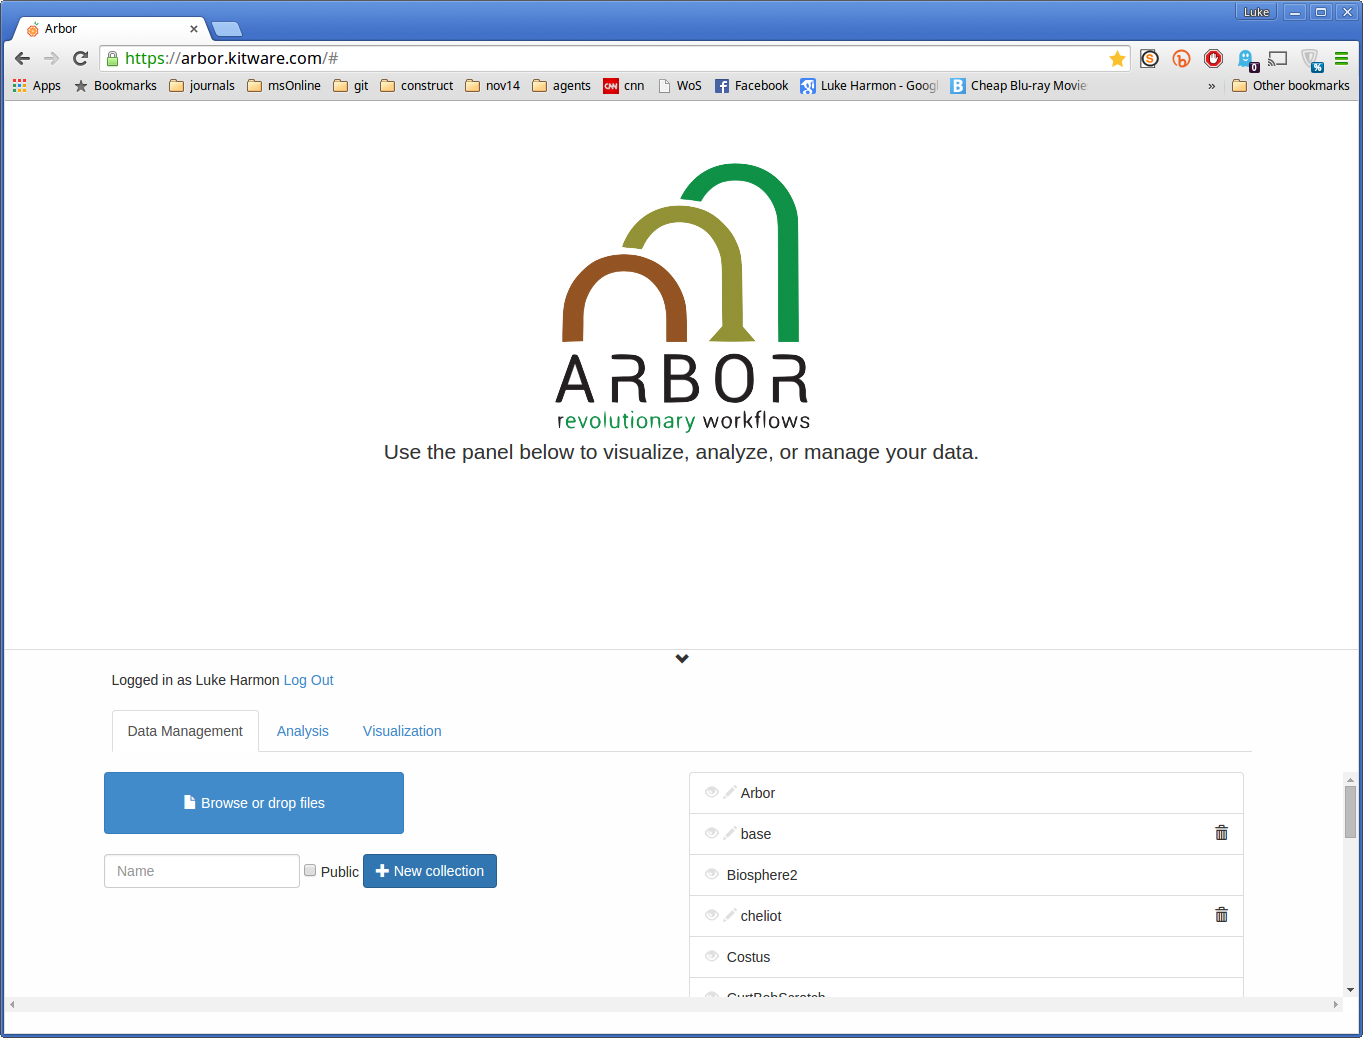
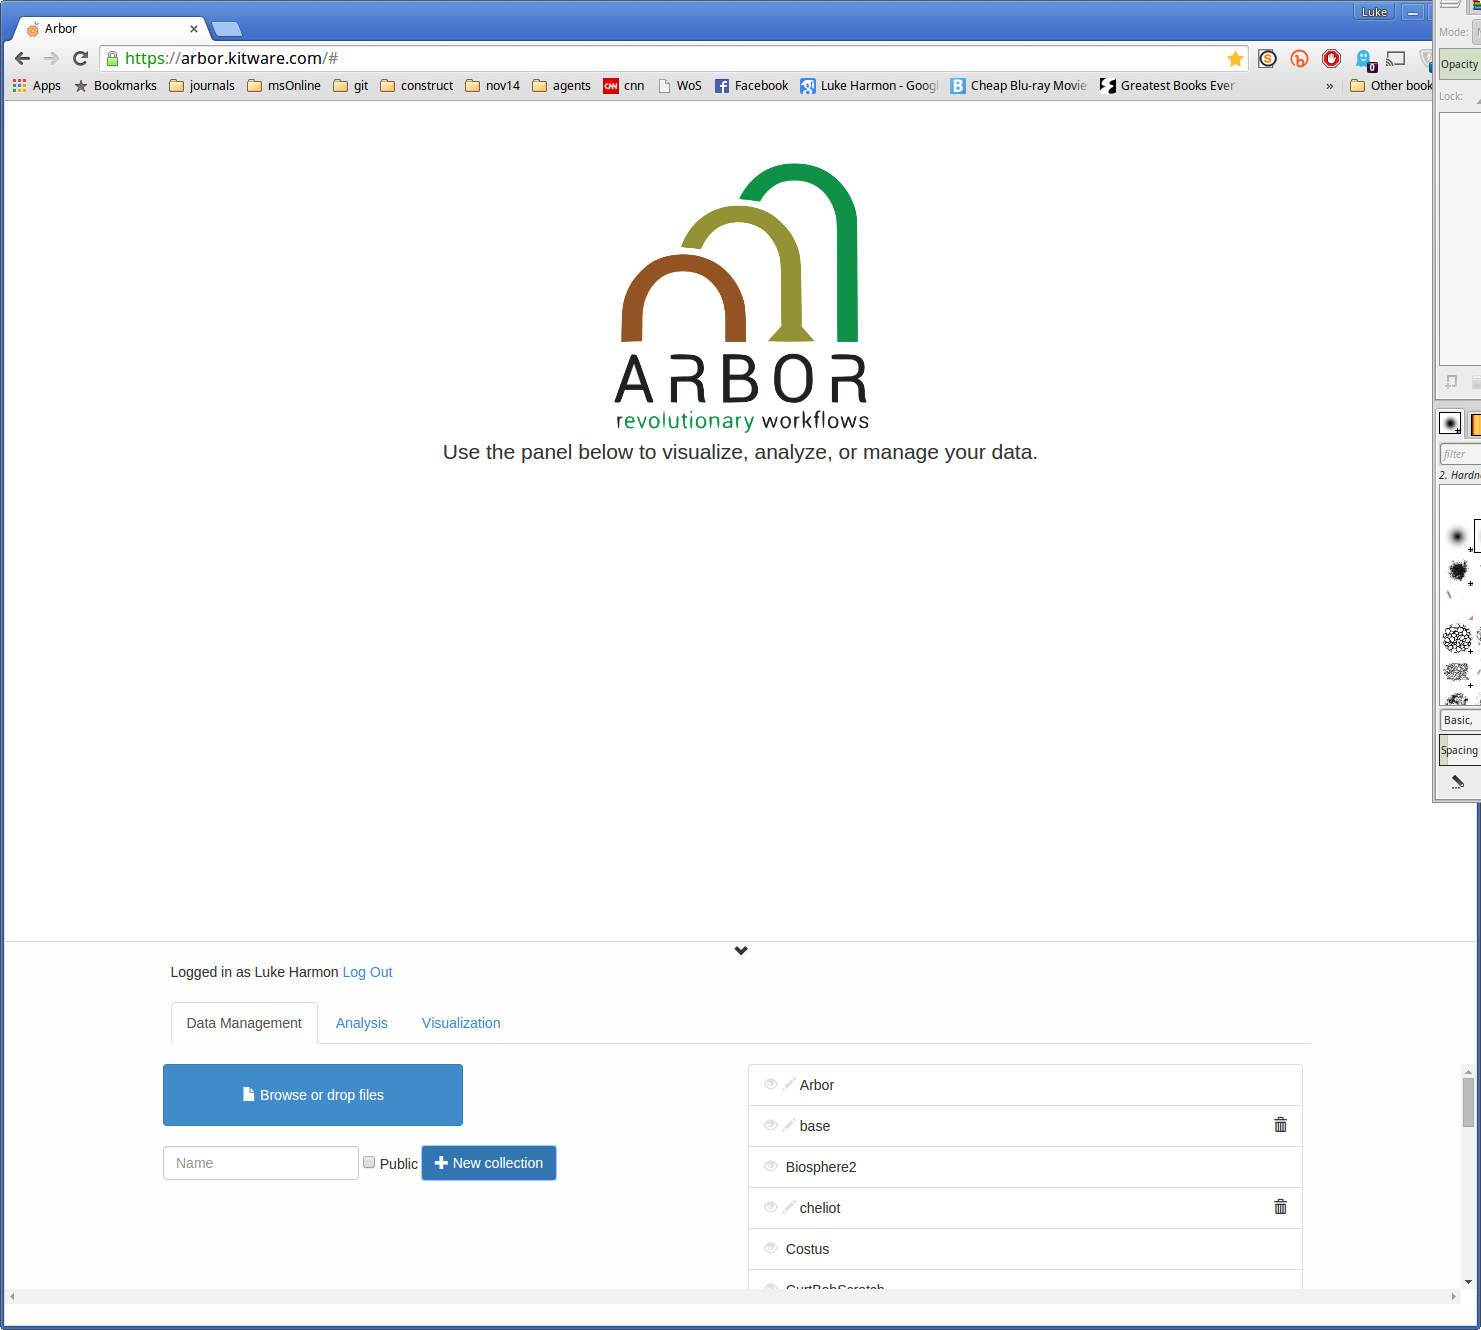
Once you are logged in, your screen should look like this:
You will need the anolis example data files, anolis.phy and anolis.csv. Save those files somewhere on your computer.
Create a new collection
On the left side of the screen, just below the “Browse or drop files” box, is the place you will need to focus to create your new collection. In the box there you can type the name of a new collection - let’s use testCollection here, so type that in the box. If you want the collection to be public, you can tick the public box. Otherwise, the collection will be private and only visible to you. Keep this test collection private for this example. Now click the “New collection” button, and your collection will be created.
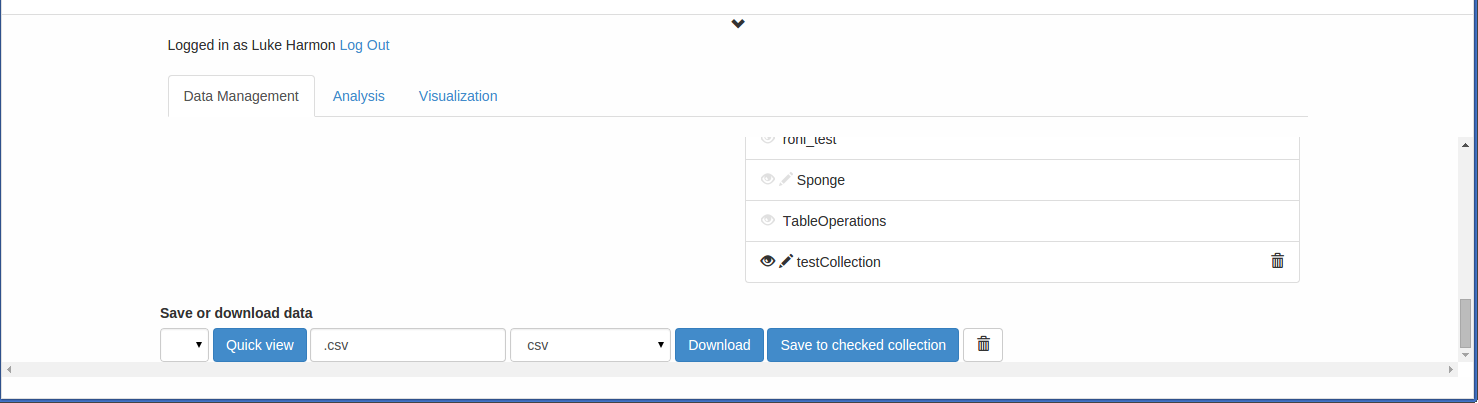
Immediately after creating my new collection. Did it work?
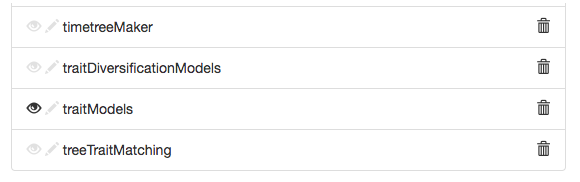
Scroll down to see more collections, the one you just created will be at the bottom. Click on both the “eye” and the “pencil” next to your collection. The “eye” lets you see the things in your collection, and the pencil gives write access so that you can add things to the collection (and delete!).
Saving data to your new collection
Once you have created your collection, you can add data to it. Drag the “anolis.csv” file to the “Browse or drop files” box to load it into your browser. You can now save this file to your new collection. To do that, scroll down to the very bottom of the bottom browser frame, where you should see “Save or download data.” “anolis.csv” should show up there.

As long as the pencil next to your new collection is highlighted, you can now click “Save to checked collection” to save this data file to the new collection. Try that now. The name of the collection should show up next to the datafile:

Creating new analyses and workflows in your new collection
Now, move over to the “Analysis” tab. You can create new analyses and workflows in your new collection by clicking on “+ New analysis” or “+ New workflow.”
Let’s start with a simple new analysis. We can create a function that will automatically multiply all the branch lengths in our tree by some factor, x. We will call this new function “multiplyBranchLengths.” Our function will have two inputs, a phylogenetic tree and a branch multiplier x, and a single output, the rescaled tree.
The first thing to do is to create our new analysis. Put the function name, “multiplyBranchLengths,” in the box under “Create new analysis.”
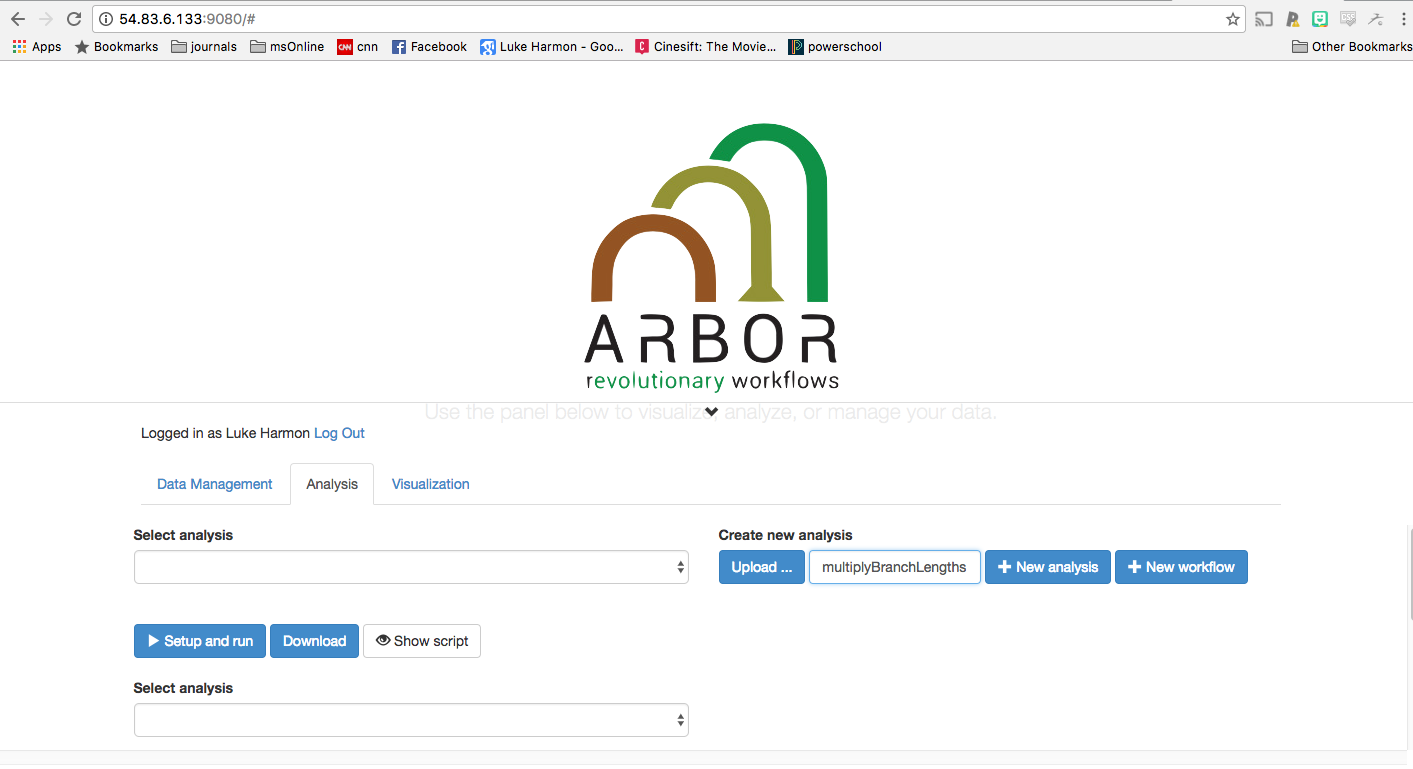
Now, push the button that says “New analysis.”
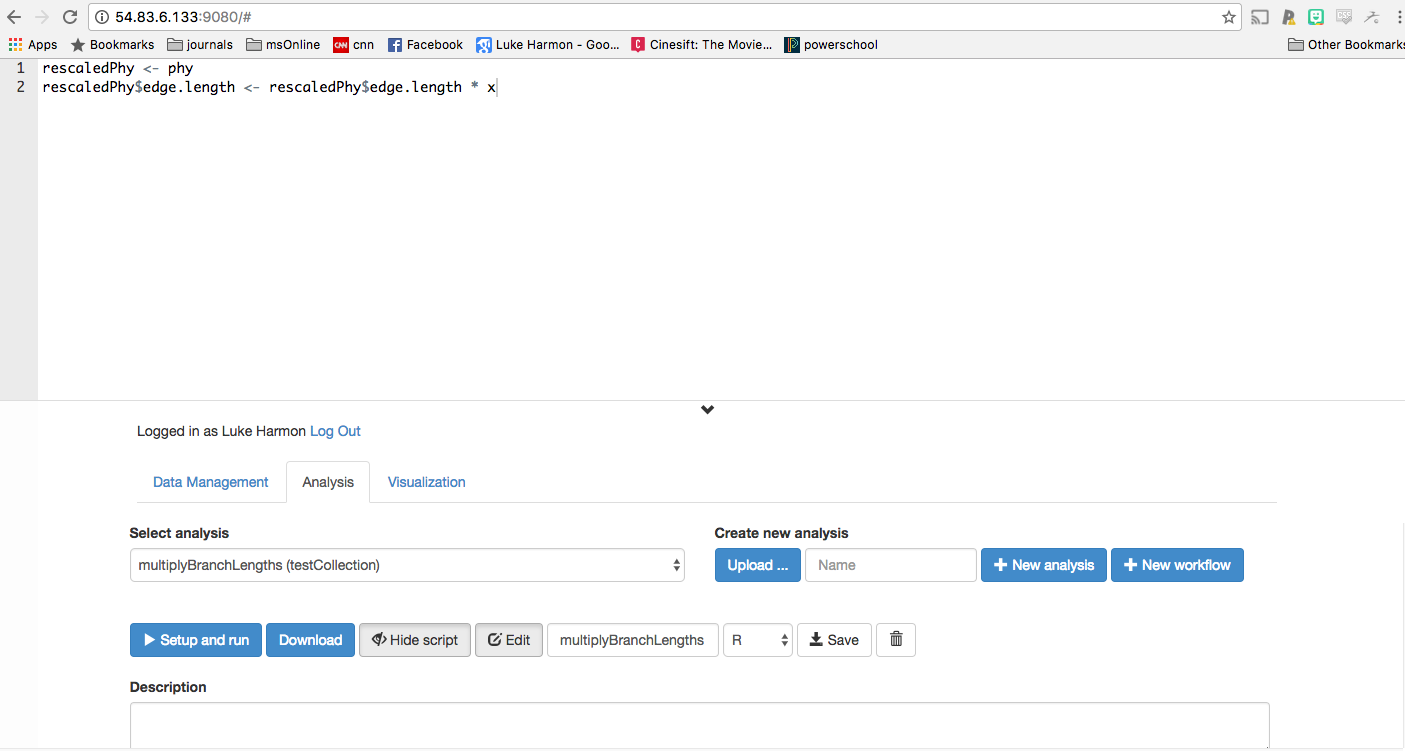
You have just created an (empty) analysis. Now click “Show script” and “Edit” to allow us to put some code into our analysis. You should also change the language to “R” instead of “Python” (look in the row of options after >Setup and run). Your screen should now look like this:

We can now paste a snippet of R code into this window to make our analysis happen. All we need is two lines:
rescaledPhy <- phy
rescaledPhy$edge.length <- rescaledPhy$edge.length * x
Paste that into your analysis:
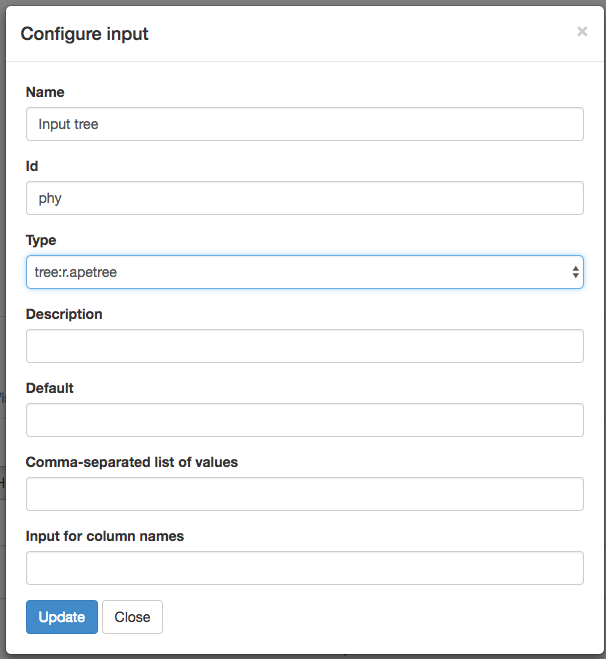
We now need to specify the function inputs and outputs. First, click the small “+” button next to “Inputs” at the bottom of the page:

You can then specify a name for this input, as well as its Id in the code. Fill out the “Configure input” box like this, then click “Update”:
Do the same thing to create a second input for our branch multiplier, but with the “Configure input” box filled out for a number:

If you do this right, you should see the Inputs specified:

Now, make an output by clicking the + next to “Outputs.” Fill out the “Configure output” box:
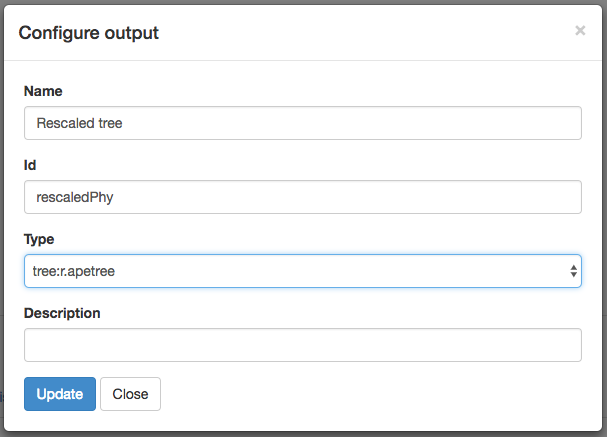
Now you can see all of your inputs and outputs:

OK! Make sure to click “Save” to save all of your work.
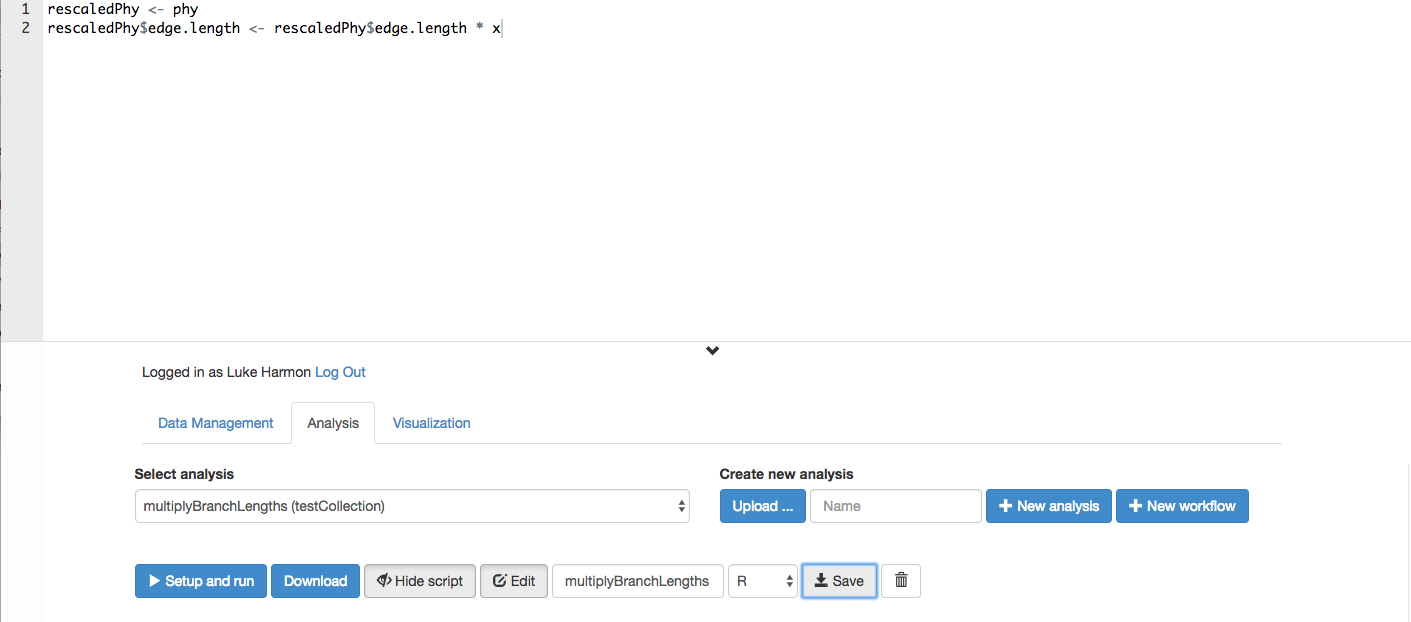
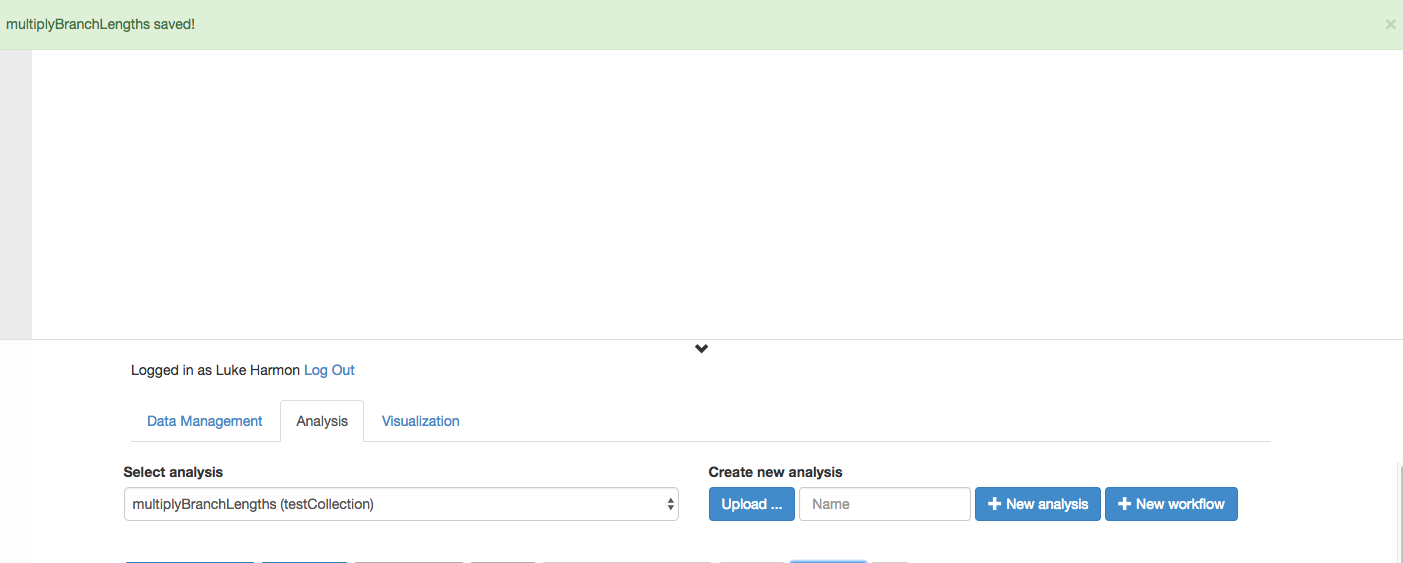
You should see a confirmation that your work is saved:
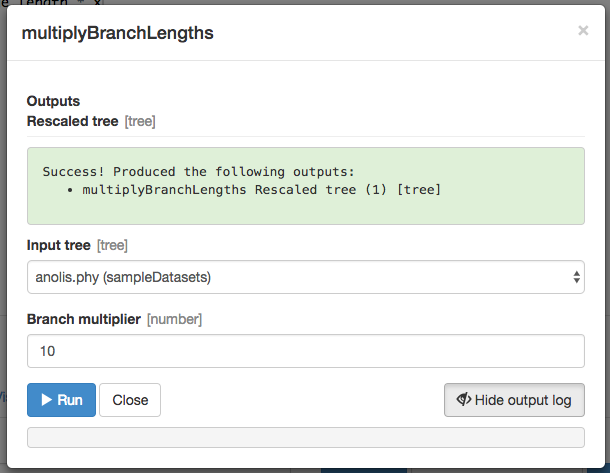
Now, let’s try running your new function. Once you have saved the function, click on “> Setup and run.” Fill out the box that appears:

Once the function runs, you should get a green success message:
Next, we will try to use this rescaled tree to do something.
Building a workflow that includes your new function
We will now build a workflow that includes two steps: rescaling your tree, and then fitting a model of evolution for a trait on that rescaled tree.
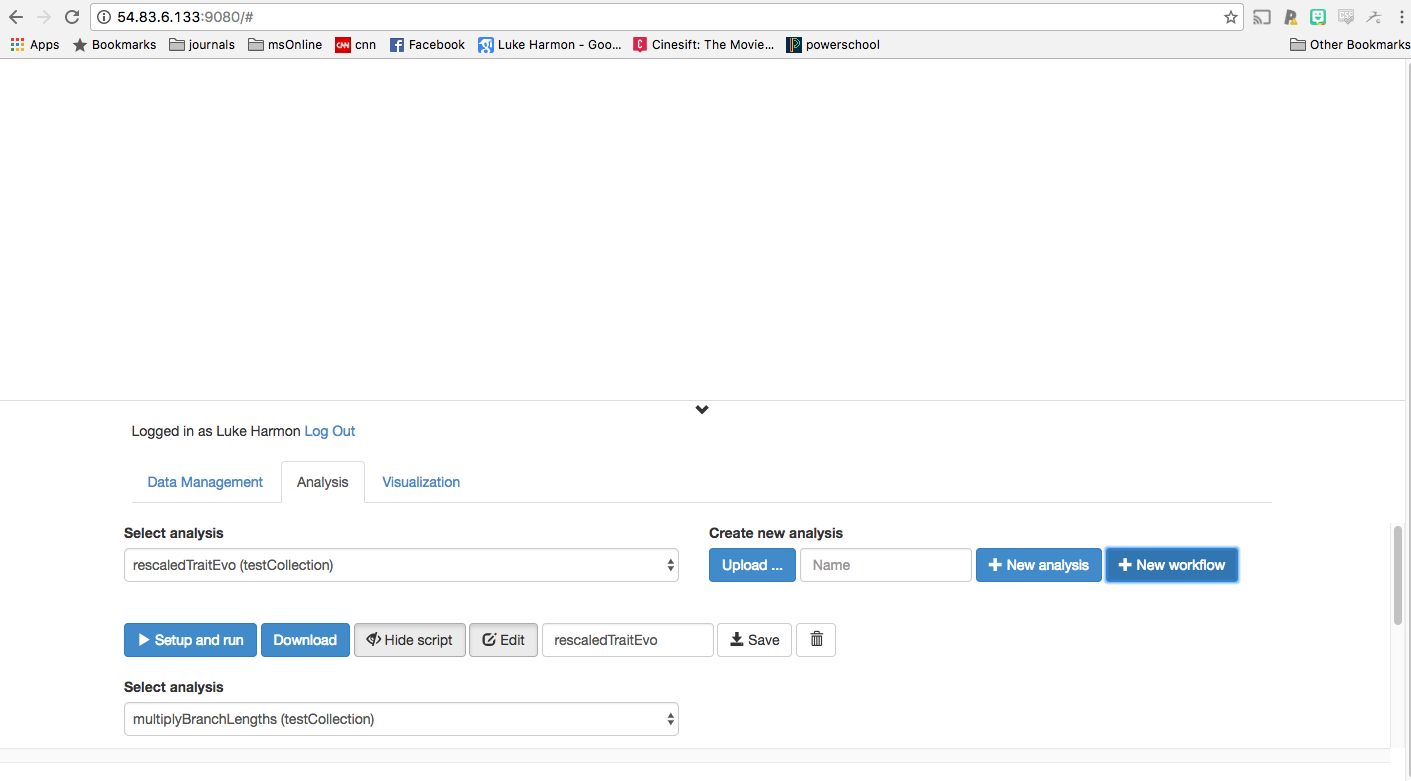
Create a new analysis called “rescaledTraitEvo,” but this time make sure to click the button that says “New workflow.”

As long as you have “Show script” and “Edit” active, you should see a blank space where your workflow will go.
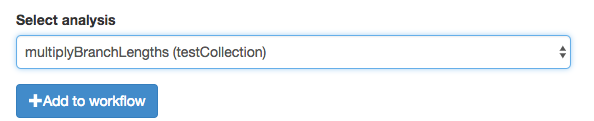
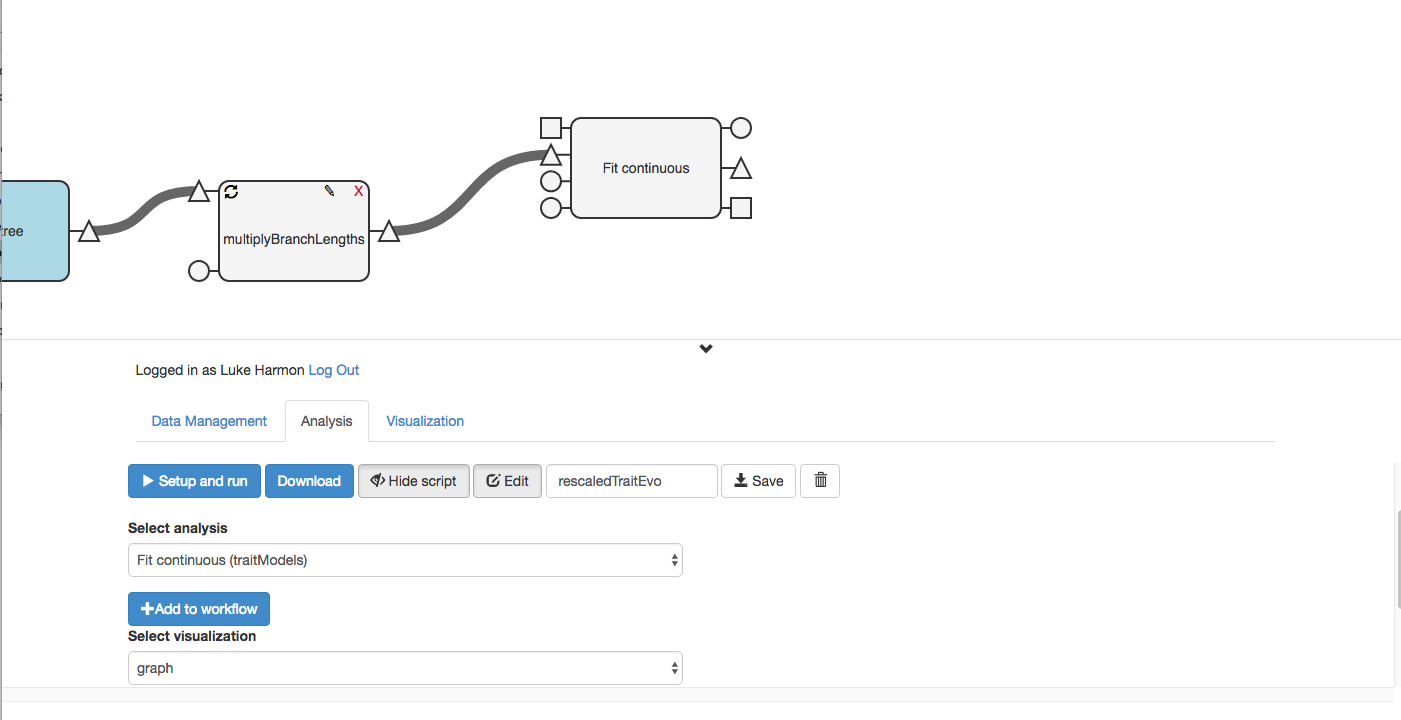
Let’s add the two functions that will be part of our workflow. First. using the “Select analysis” chooser, find your new function (multiplyBranchLengths) and use the “+Add to workflow” button to add it to your workflow.
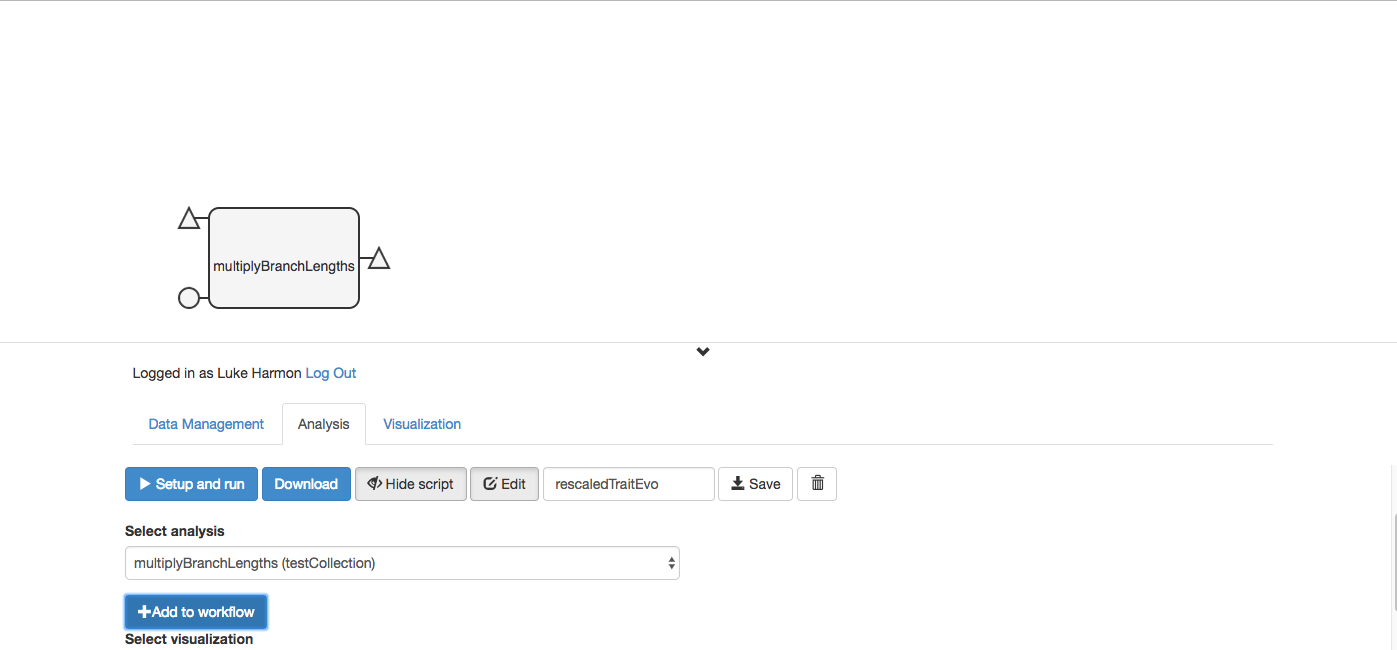
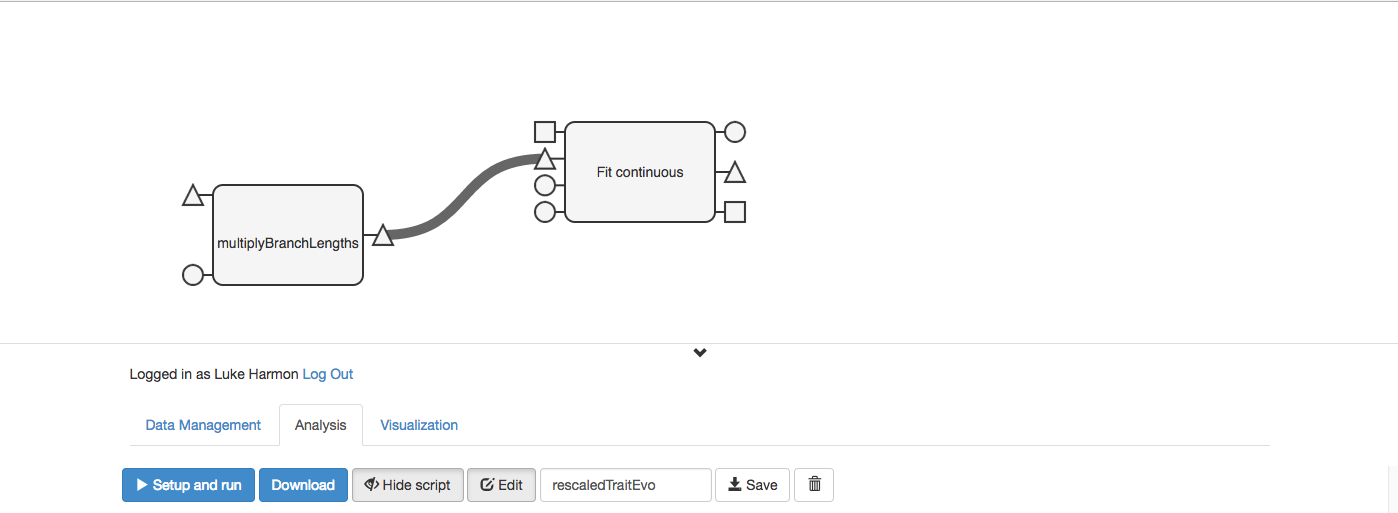
Once you do that, your function should appear as a workflow block.
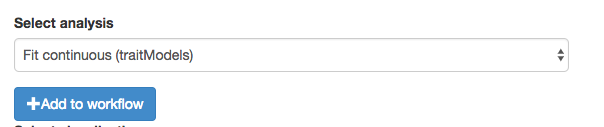
Now add a block for the other function you need, “fit discrete.” It is part of the “traitModels” collection, so make sure that collection is highlighted as visible under the Data Management tab.
Now select the function you need and click “+Add to workflow”
Shazam! the function appears in your workflow. But wait? What happened to the other function?
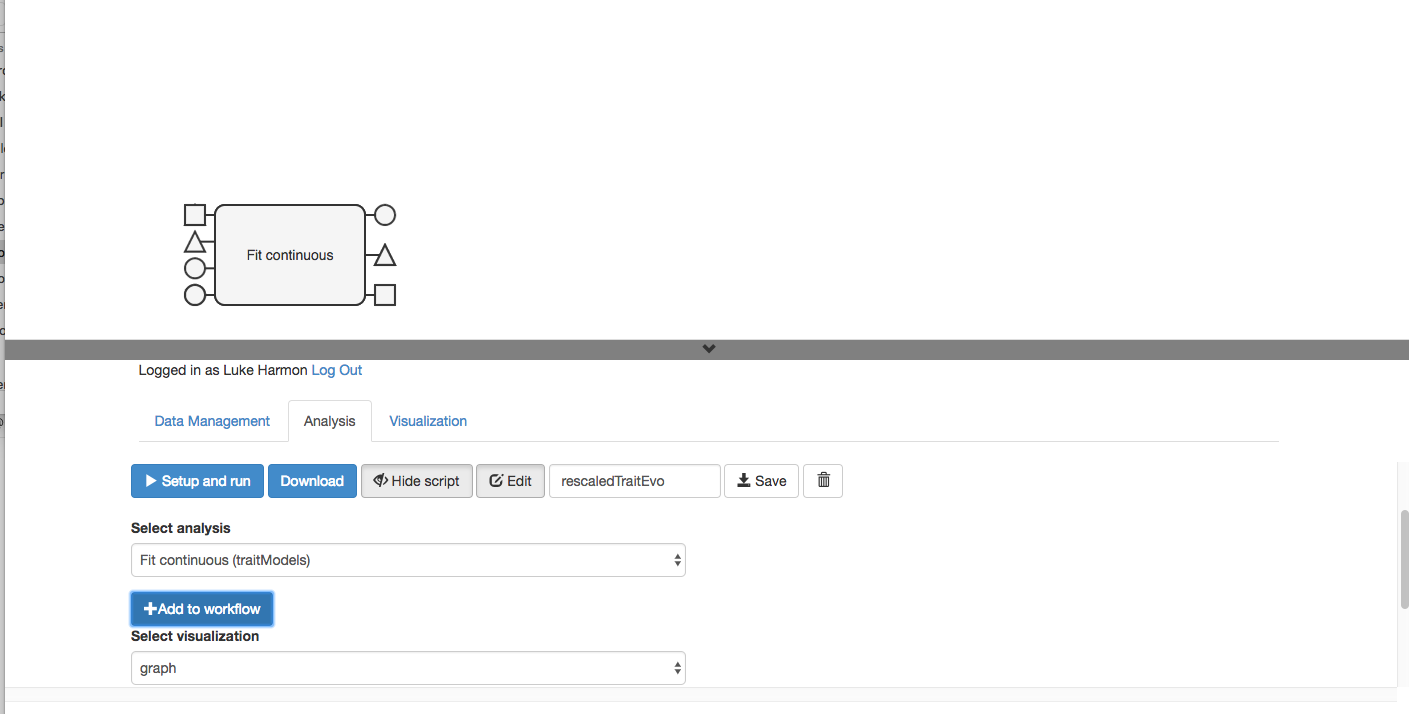
Don’t worry, it was just hiding underneath.

OK, now we just need to wire this workflow together! First, we know that the output tree from “multiplyBranchLengths” goes to the input tree of “Fit continuous.” Connect those two with a wire.
Everything else is a user input or output. To create those, just click on each tab.
You might need to move things around to make the workflow look nice.
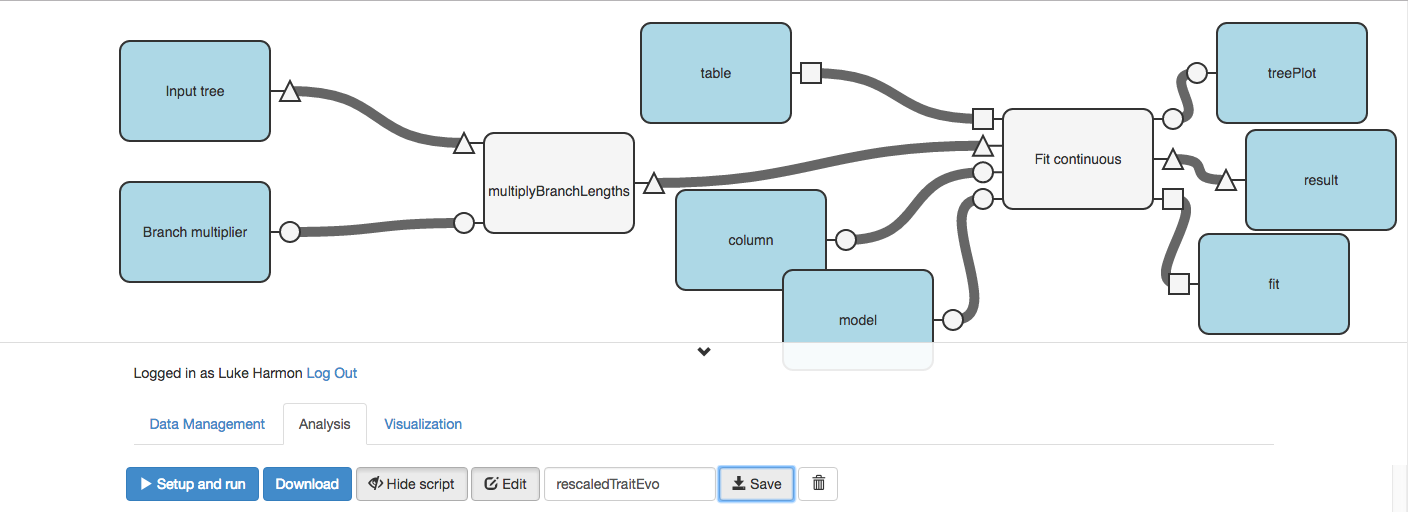
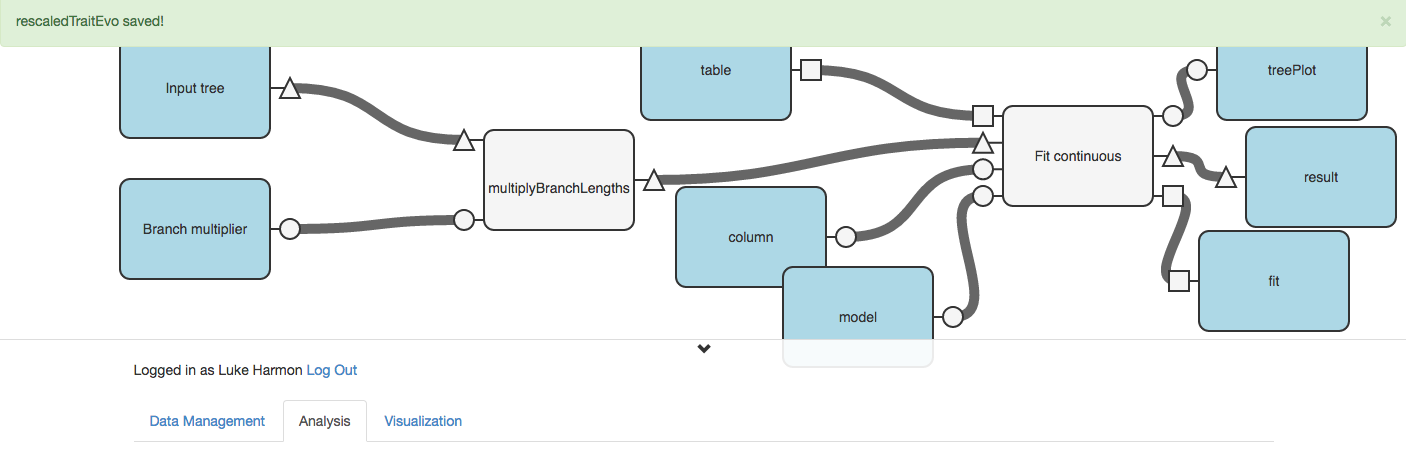
Make sure to save your workflow!
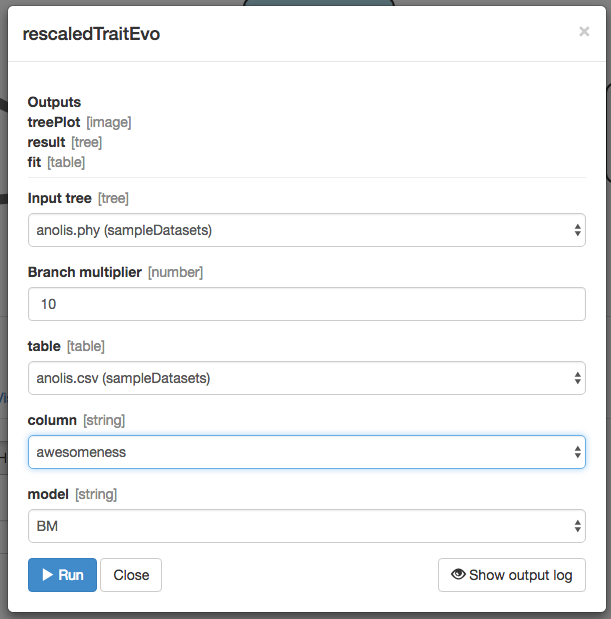
We can now use the “> Setup and run” button to run our workflow.

Designate these inputs:
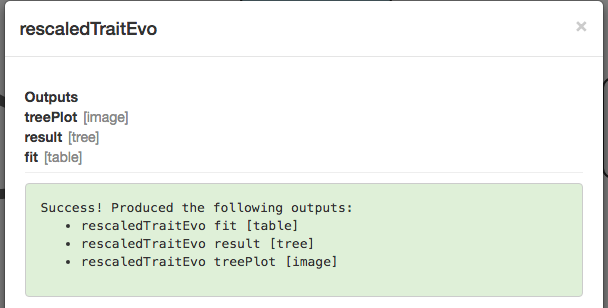
It worked!
We can see the results in the Visualization tab:

Click “Update”
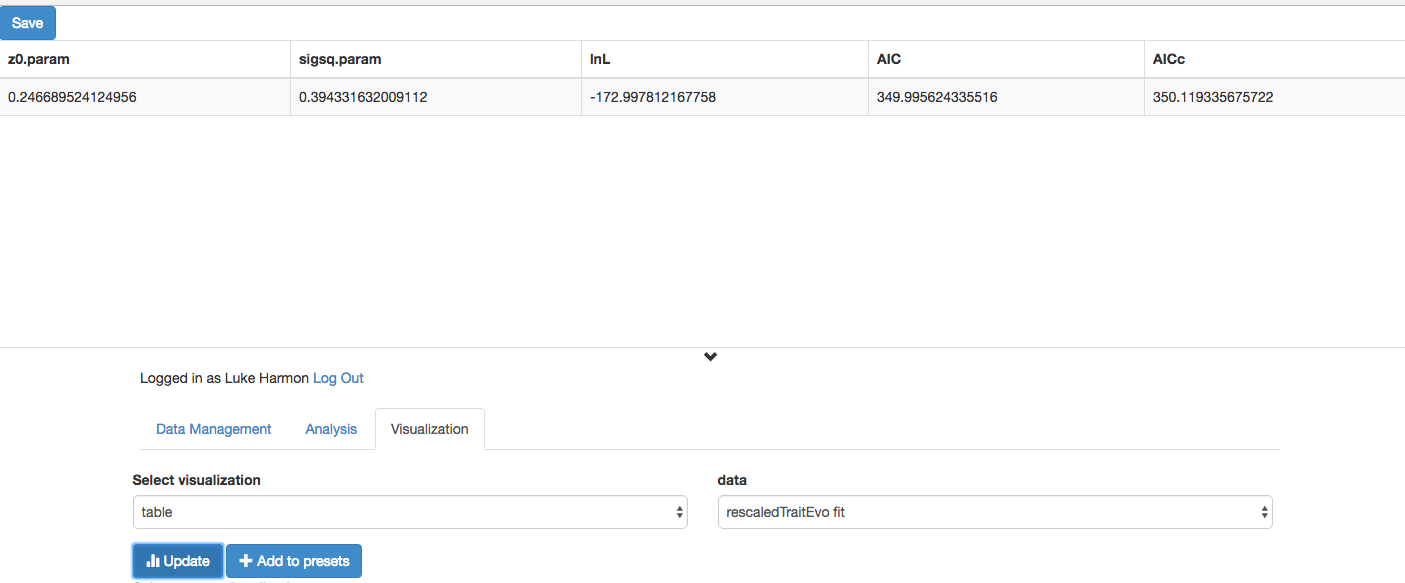
Compare this to what we get with the original tree. Notice any differences? Explain!

Loading a shared workflow to your collection
Next, I will show you how to load in a workflow file that has been downloaded in JSON format. Imagine, for example, that a colleague emailed you an arbor workflow called mywork.json. You can download such a file here. (NOTE: you might have to right-click and “save as” for this file, or save as plain text with extension .json if it opens in your browser). Now, to load that workflow into your new collection, click on “Upload… “ and find the fitTraitModels.json file. The new workflow is now in your collection!
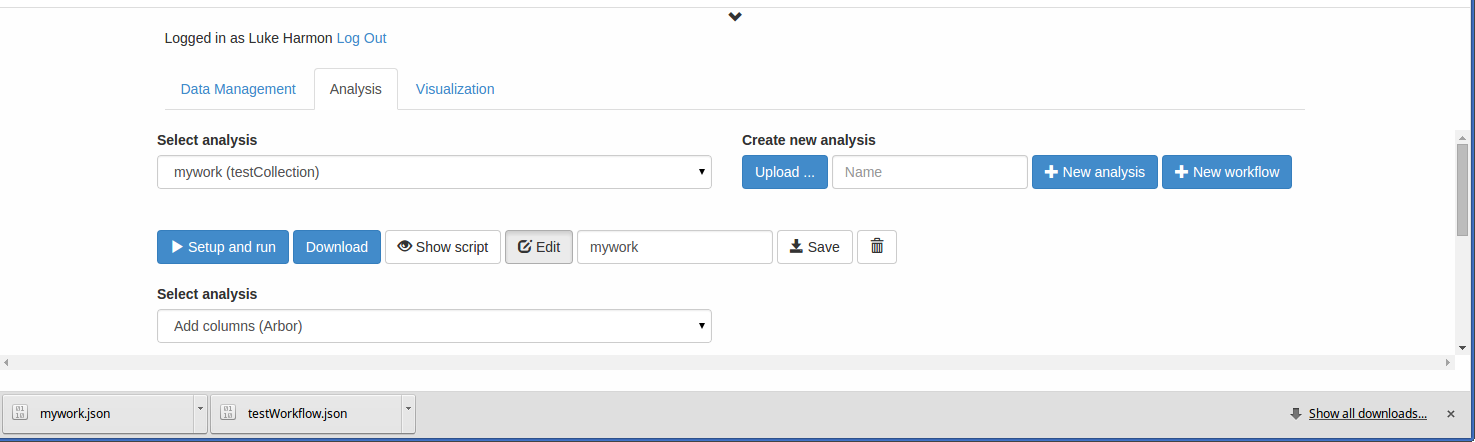
You can see the new workflow by clicking “Show script.”
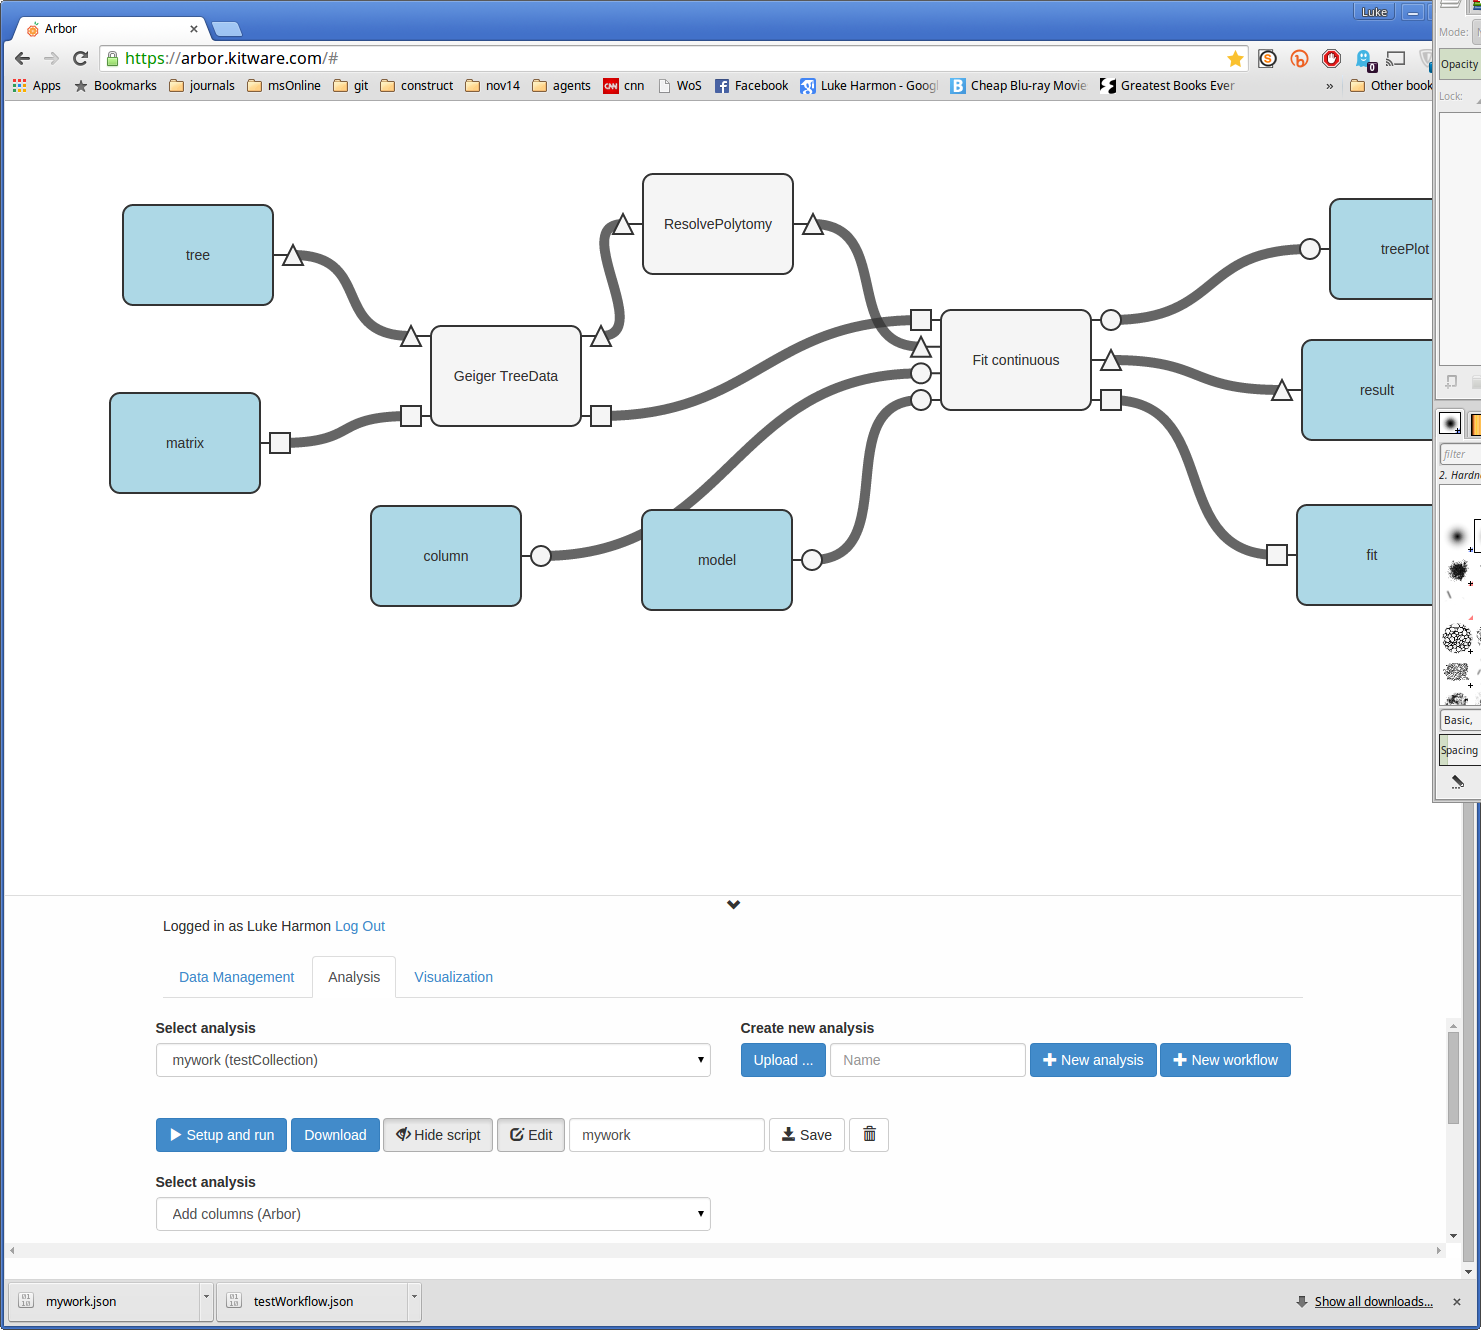
You can even edit this workflow using the “Edit” button (keep in mind that you have to hit “Save” for the changes to go into effect).
Finally, you can download your new workflow using the “Save” button, which generates a json-formatted version of your workflow. This text file includes all of the information and code that you need to run your workflow - but not the data! You can easily share these json files with collaborators or make them available on Github or other archives.