Create a new Arbor app.
Step 3. Make a working Arbor function - more detail
This is a detailed version of Step 3 of these instructions for making an Arbor app.
For this step you will need to use an Arbor instance that you have control over, like one that you have installed yourself. If you want to post an Arbor App on one our main AWS instances then you will need to get it working locally first and then contact us.
Open your Arbor instance and log in.
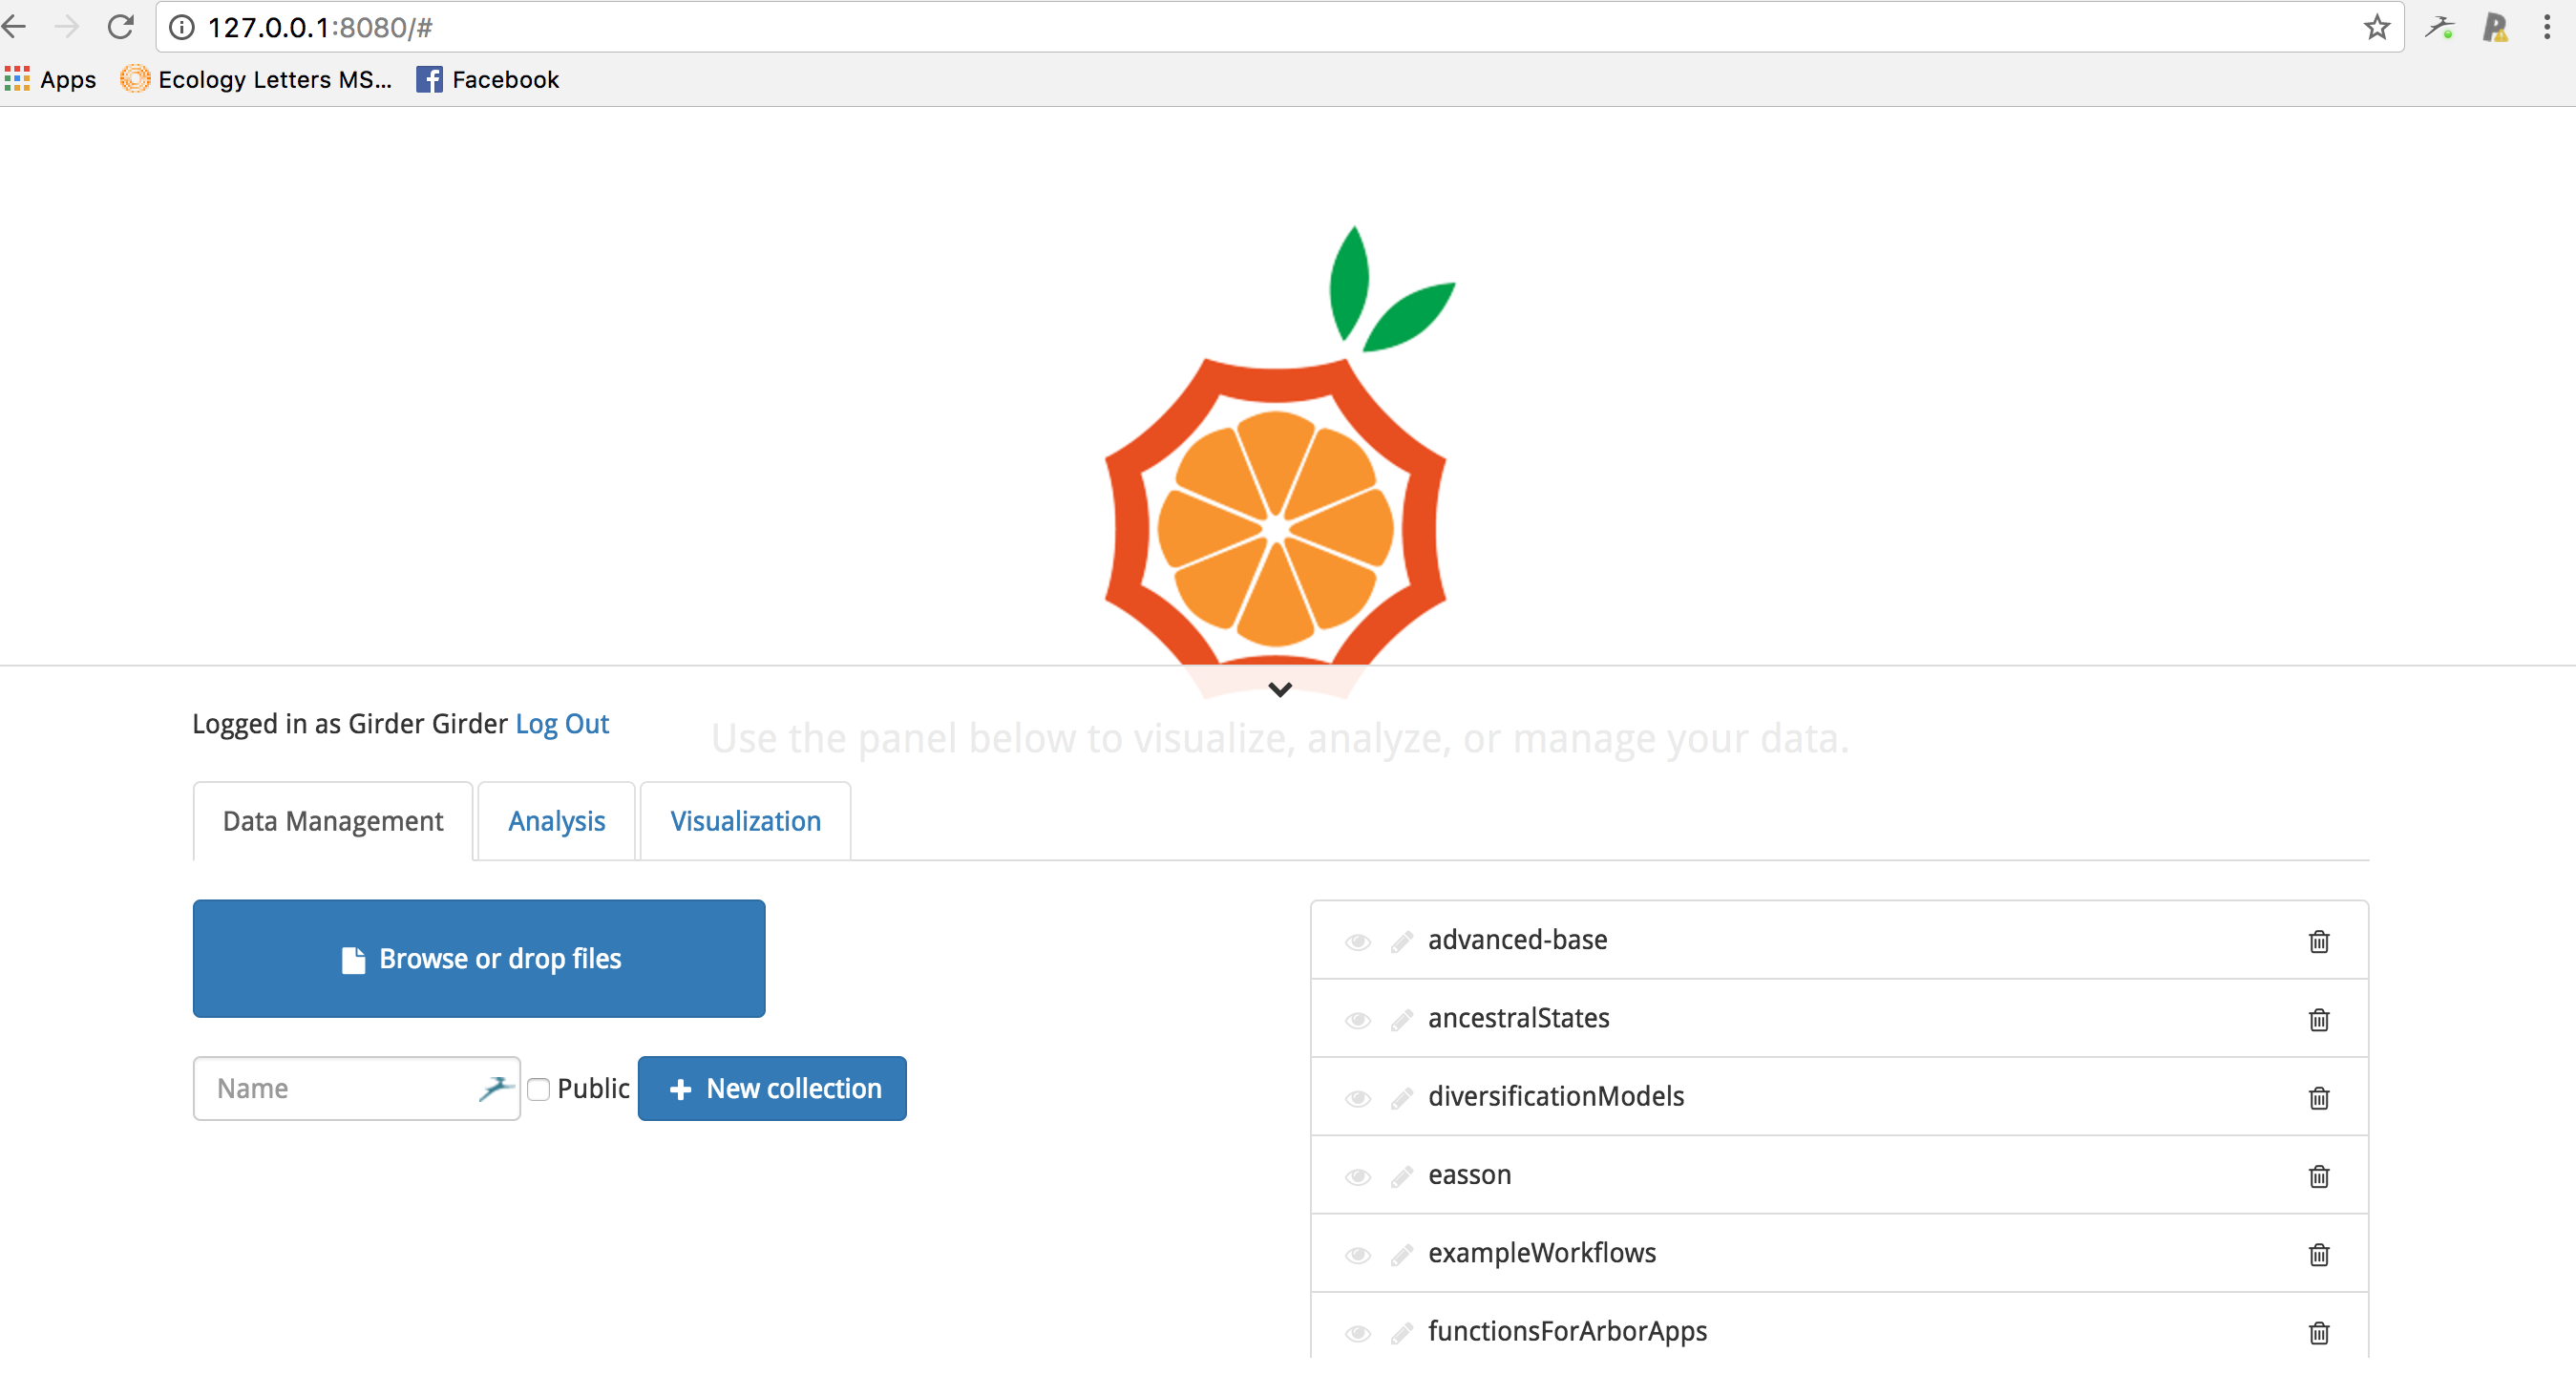
We will create a new analysis in the collection called “functionsForArborApps,” so set Arbor to save to that collection.

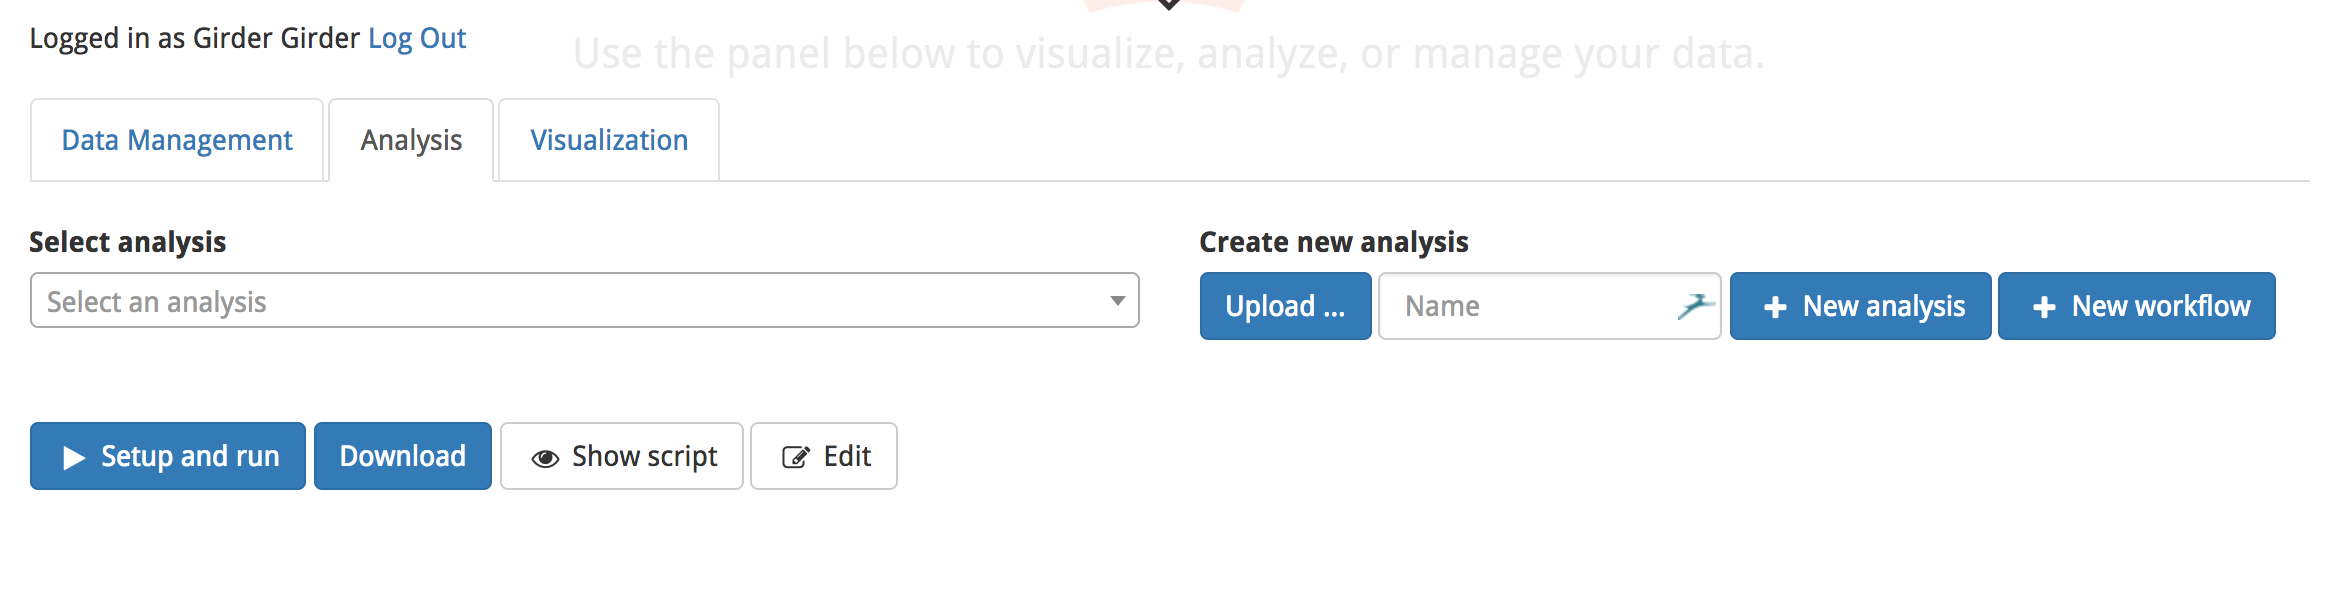
Now navigate to the “Analysis” tab.
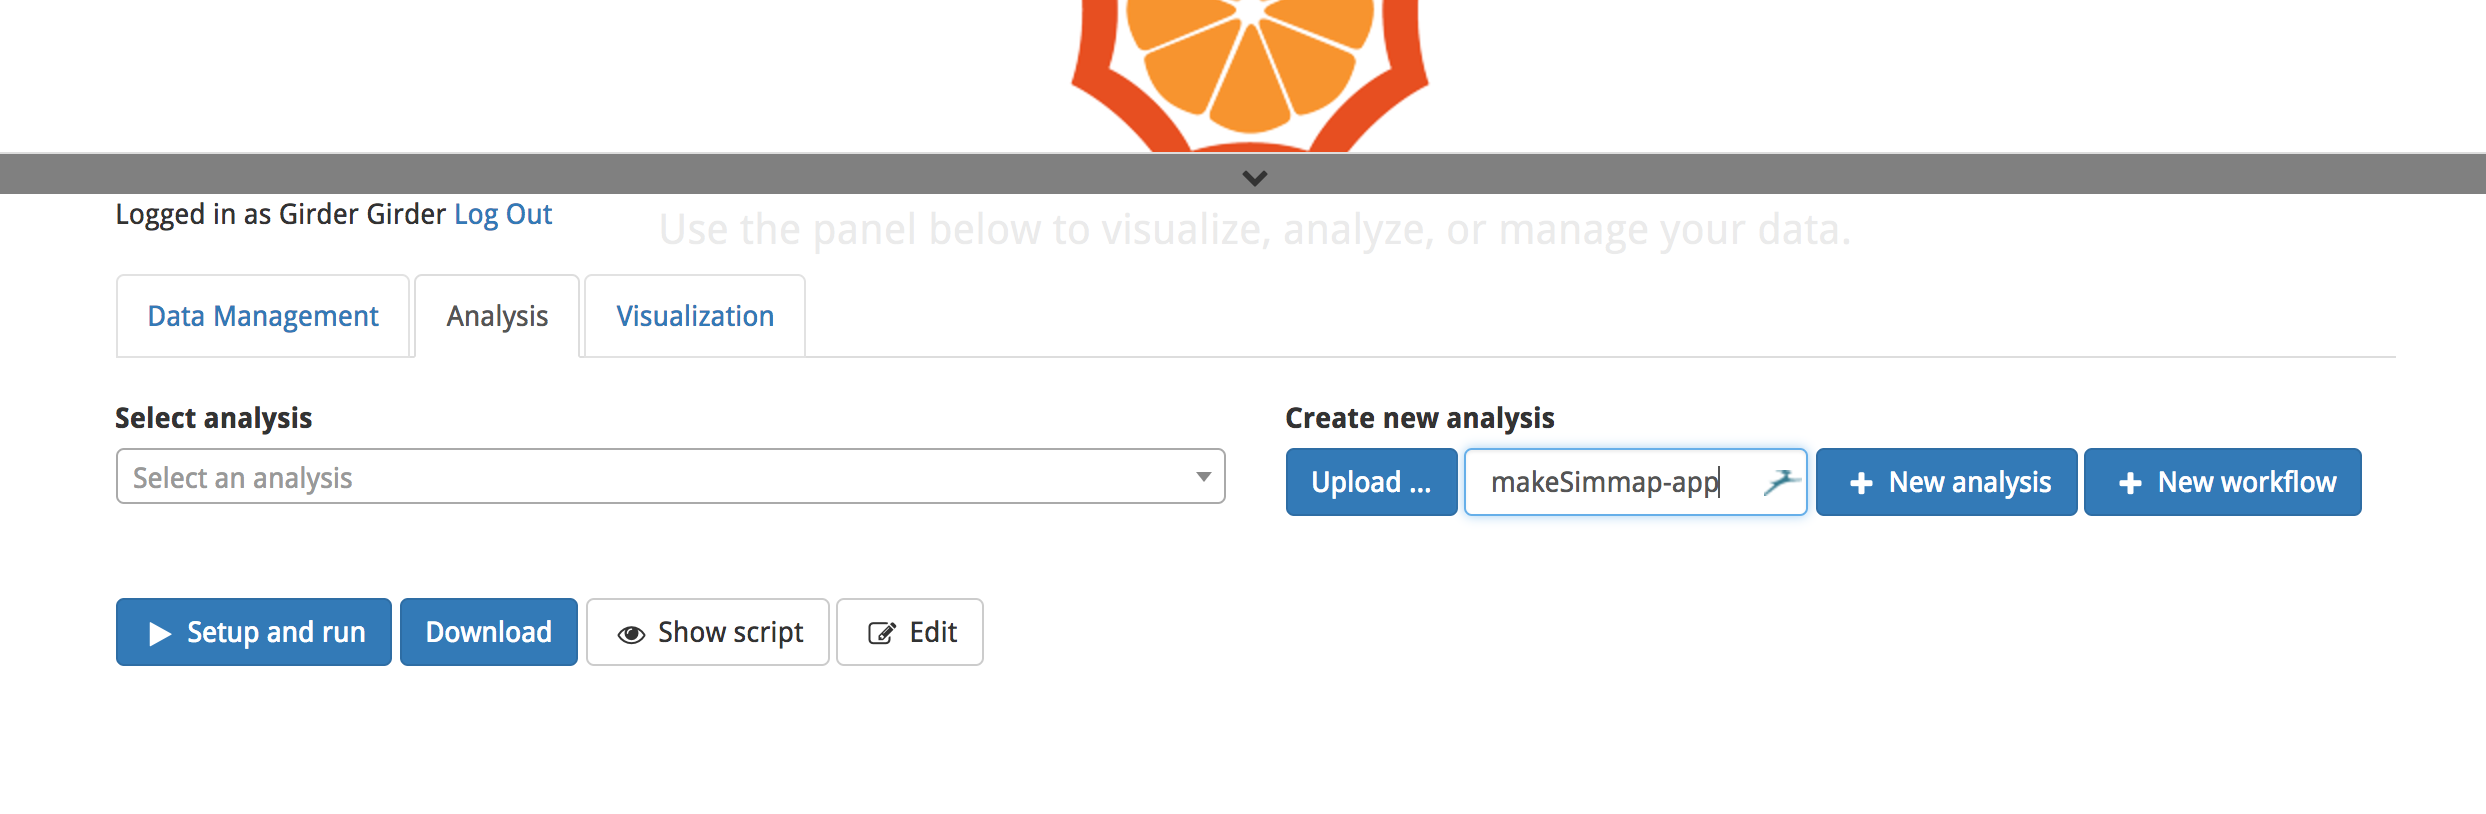
Create a new function called “makeSimmap-app.”
Set the language for this function to “R.”
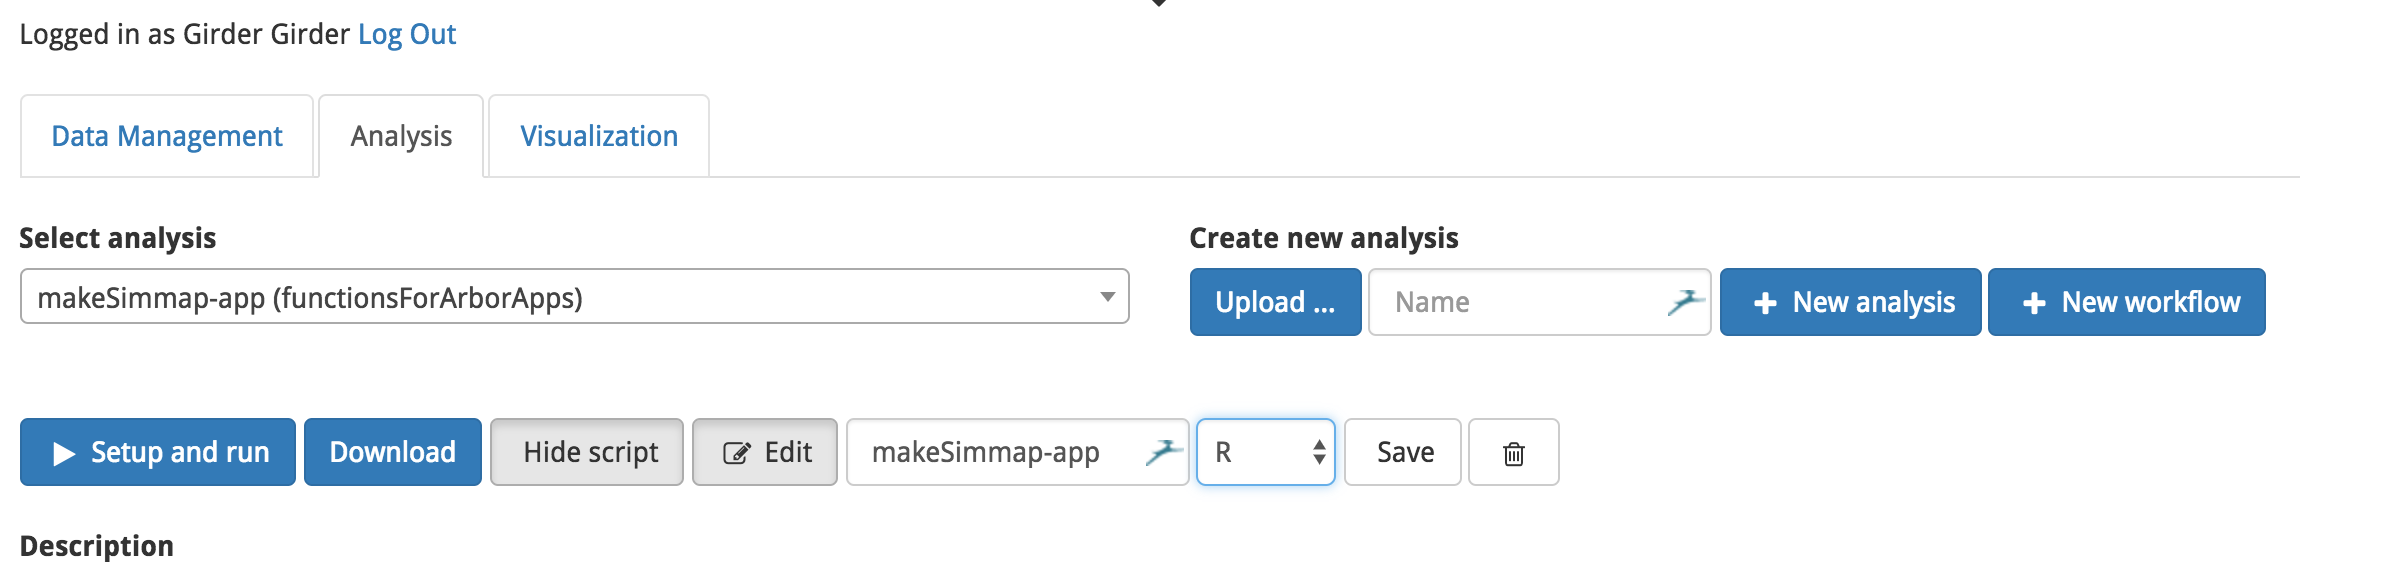
Now paste the code from step 2 into that window, and press save.
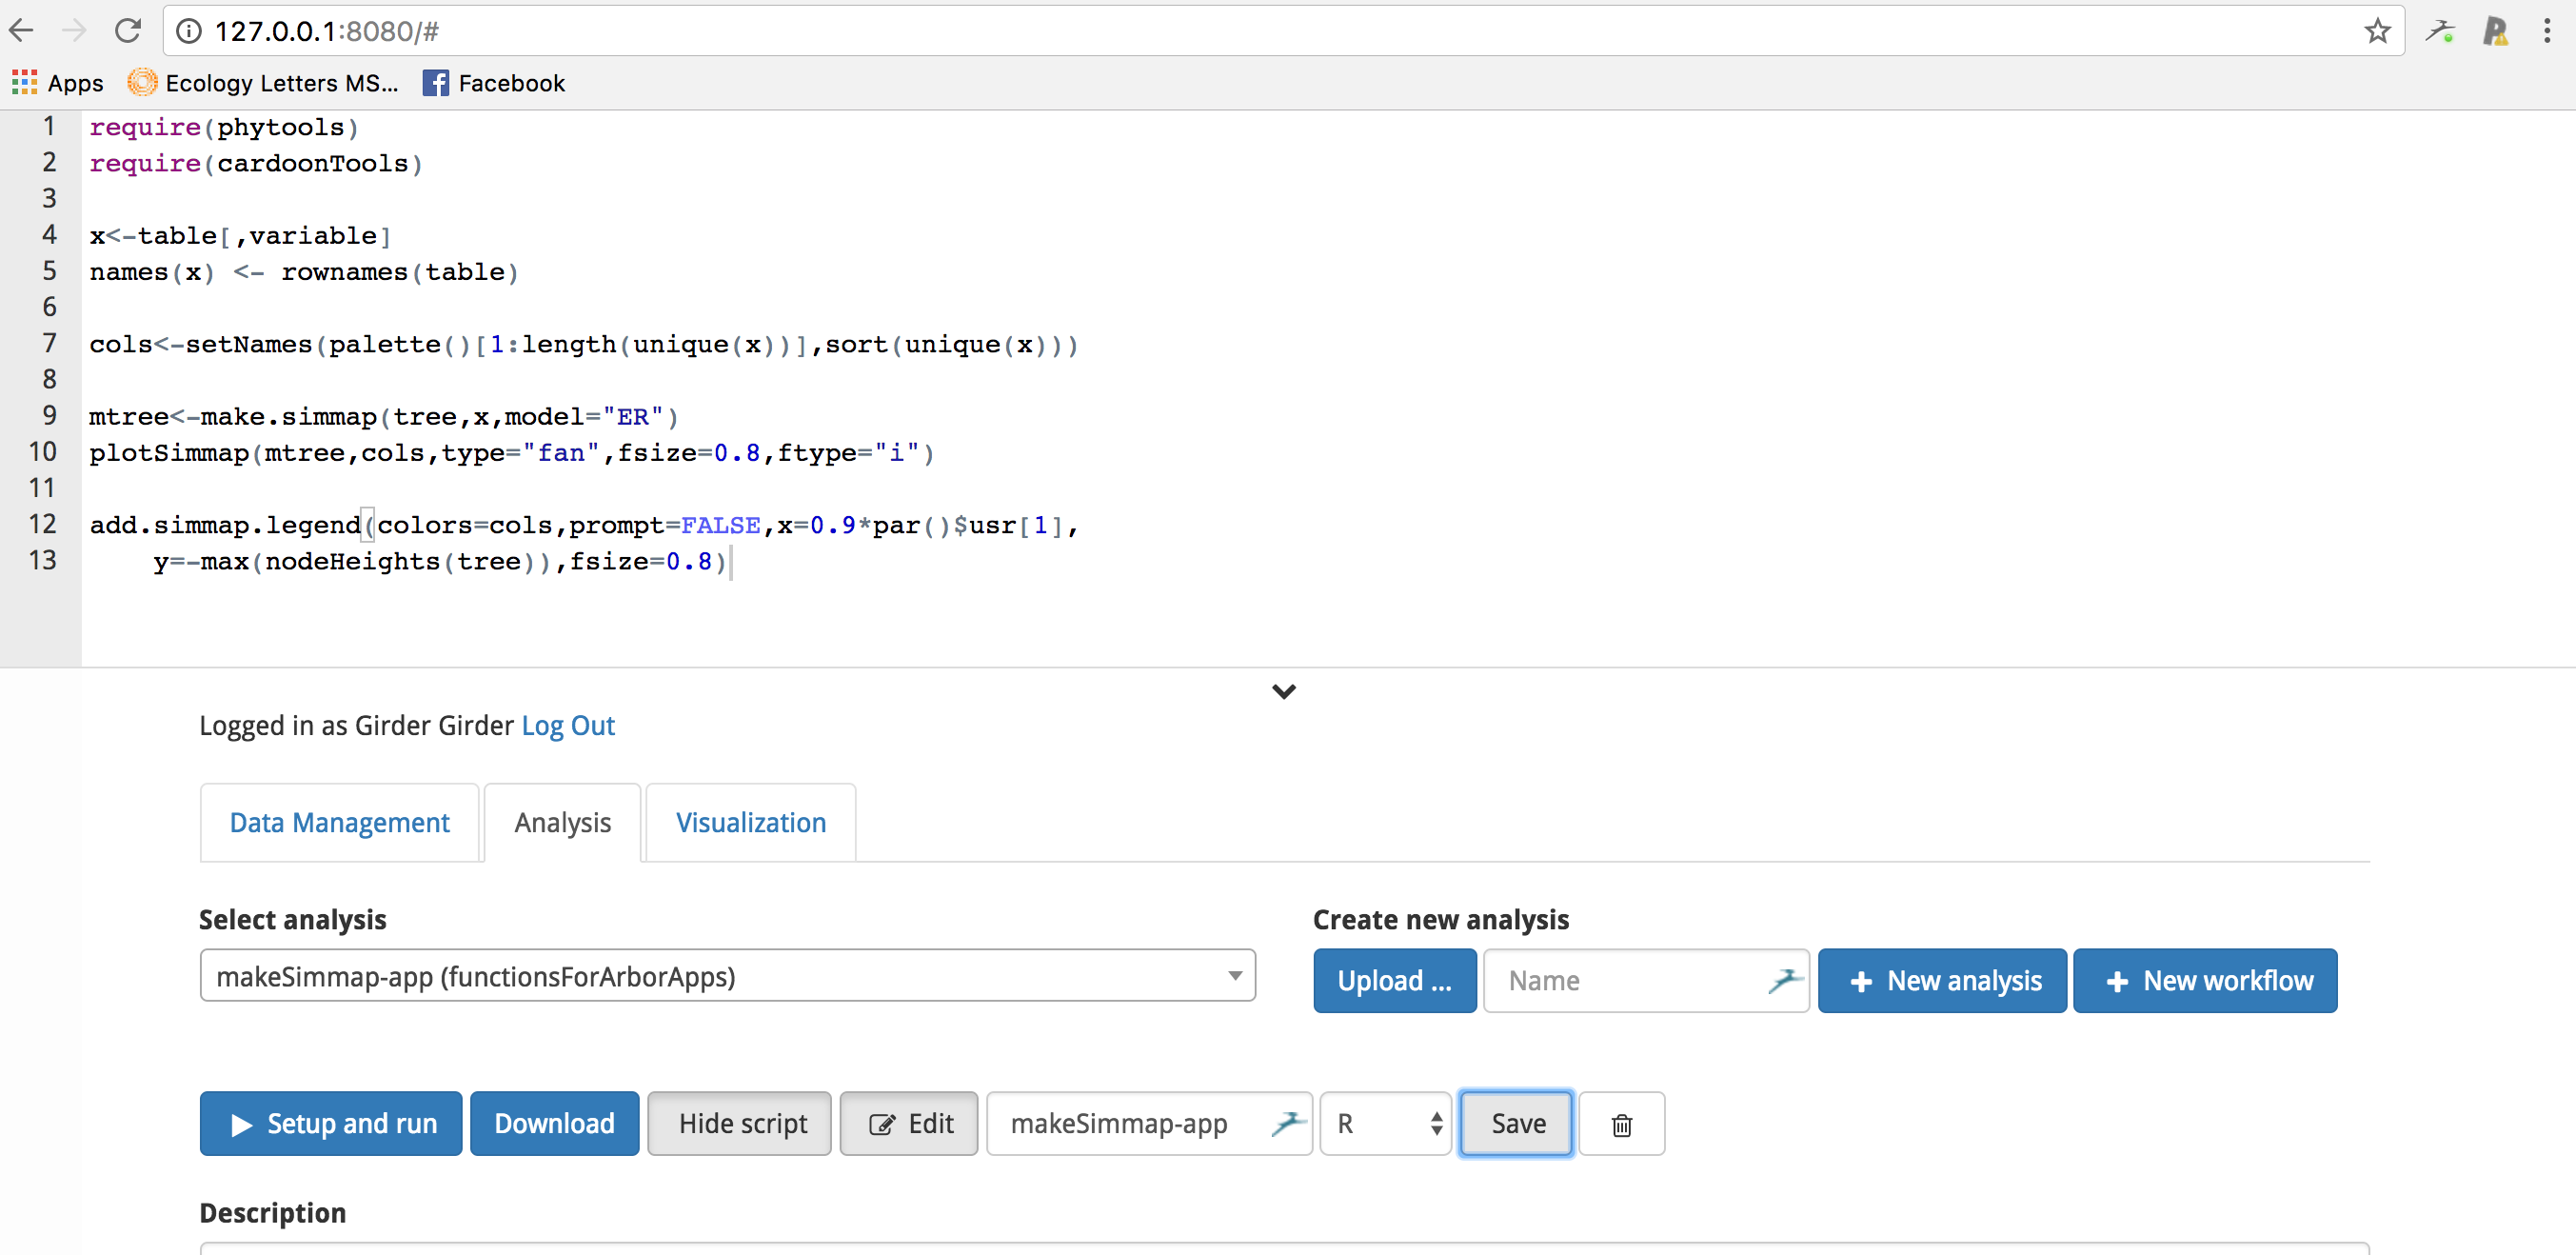
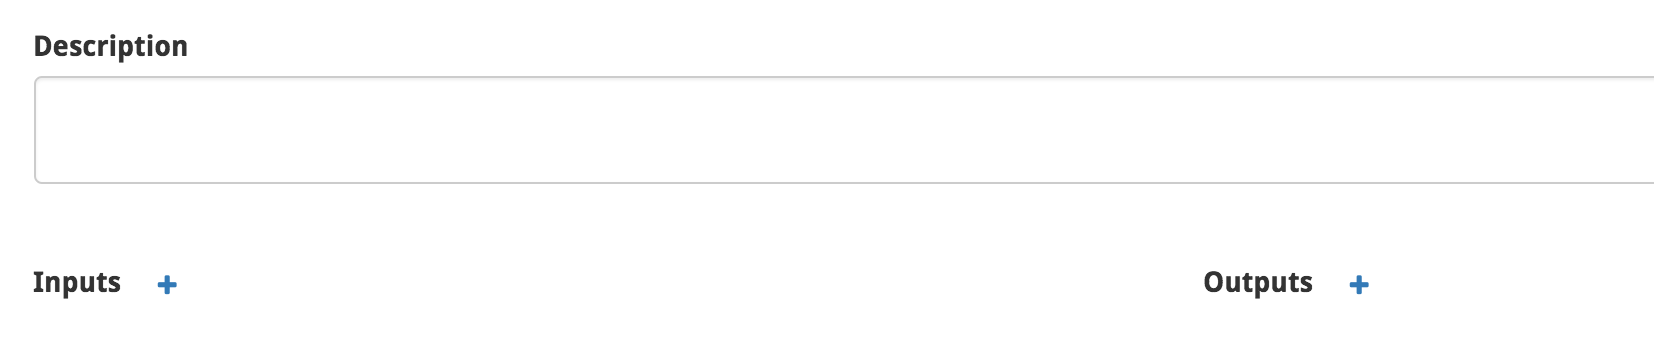
Next we need to set inputs and outputs.
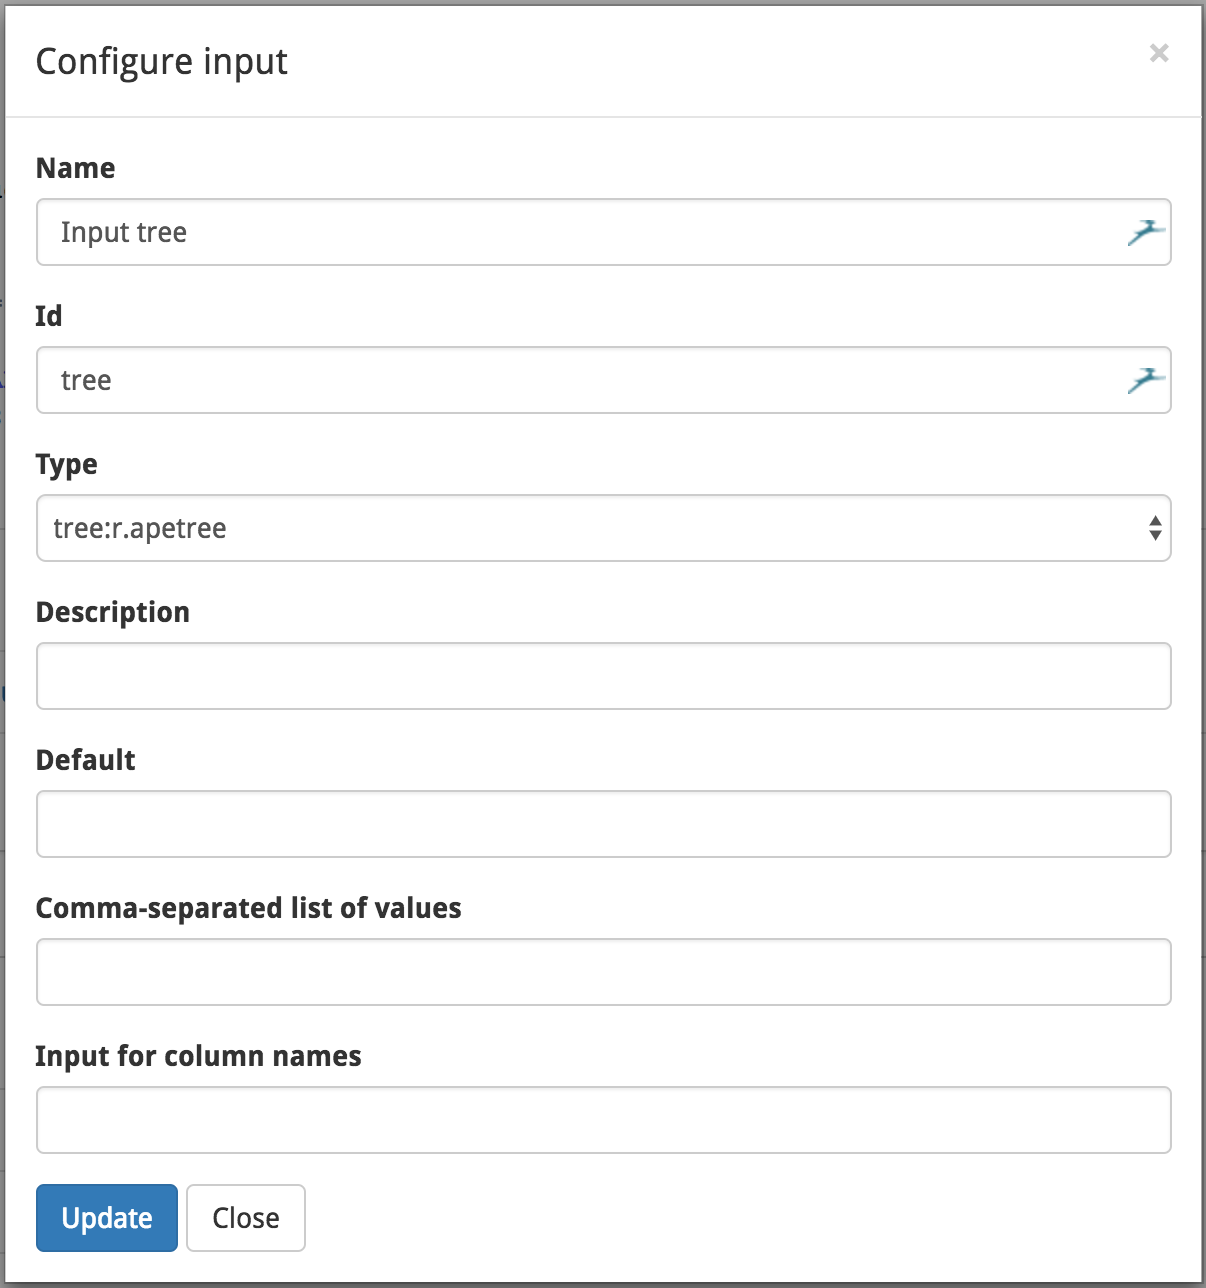
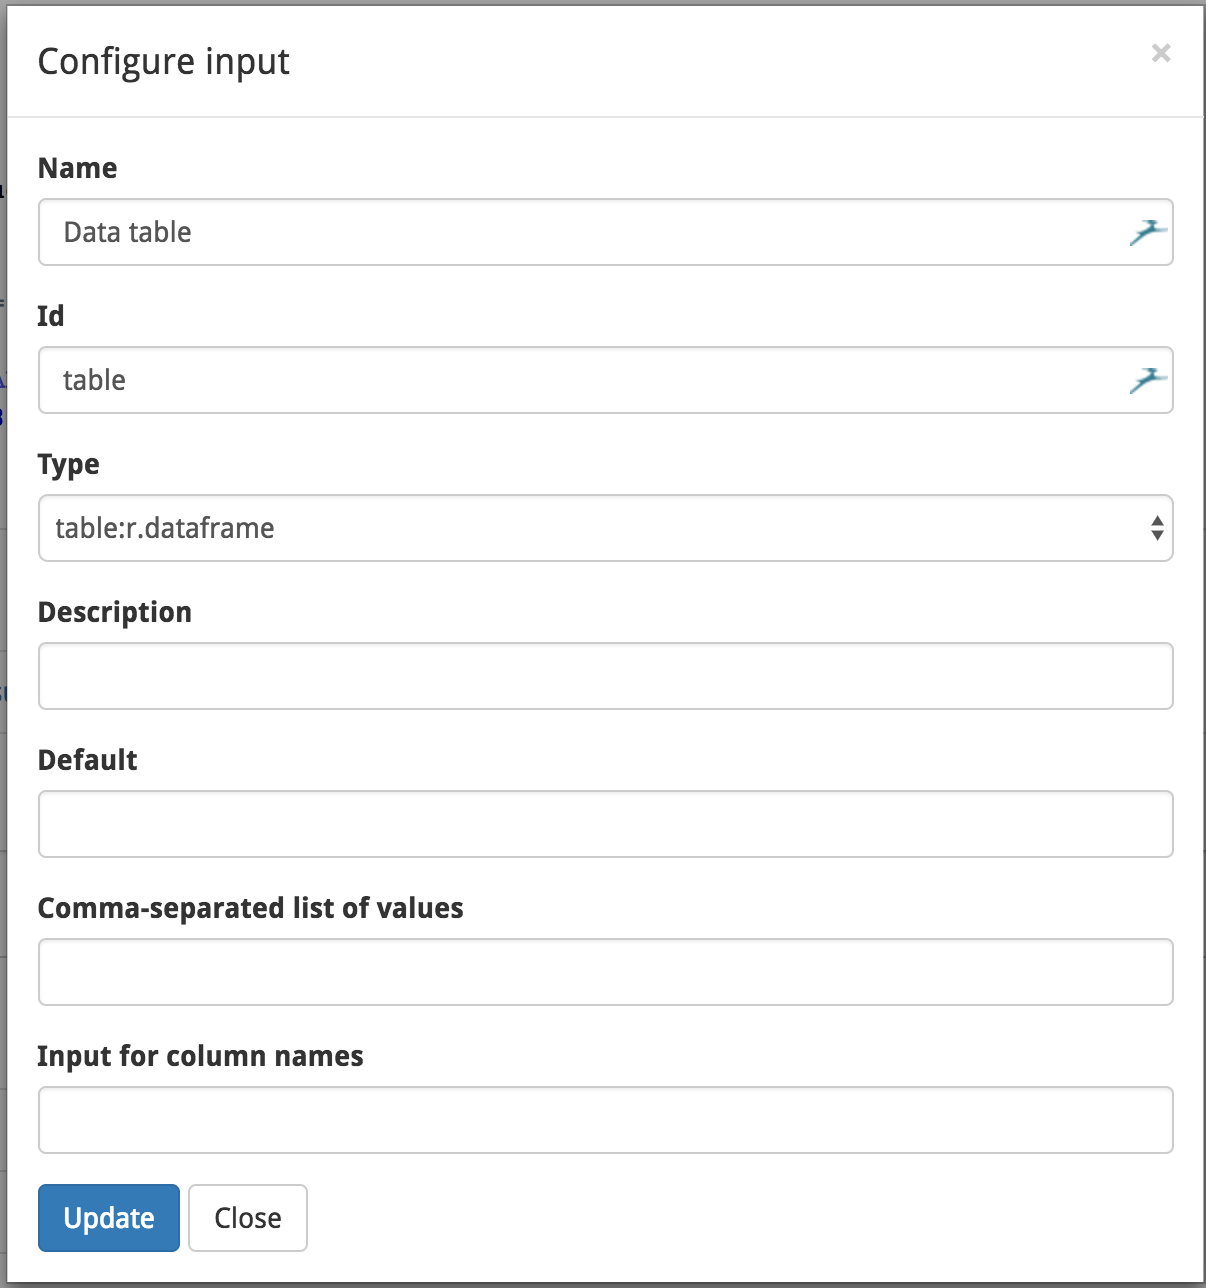
The function takes three inputs: a tree, a table, and a column for analysis.
The tree:
The table:
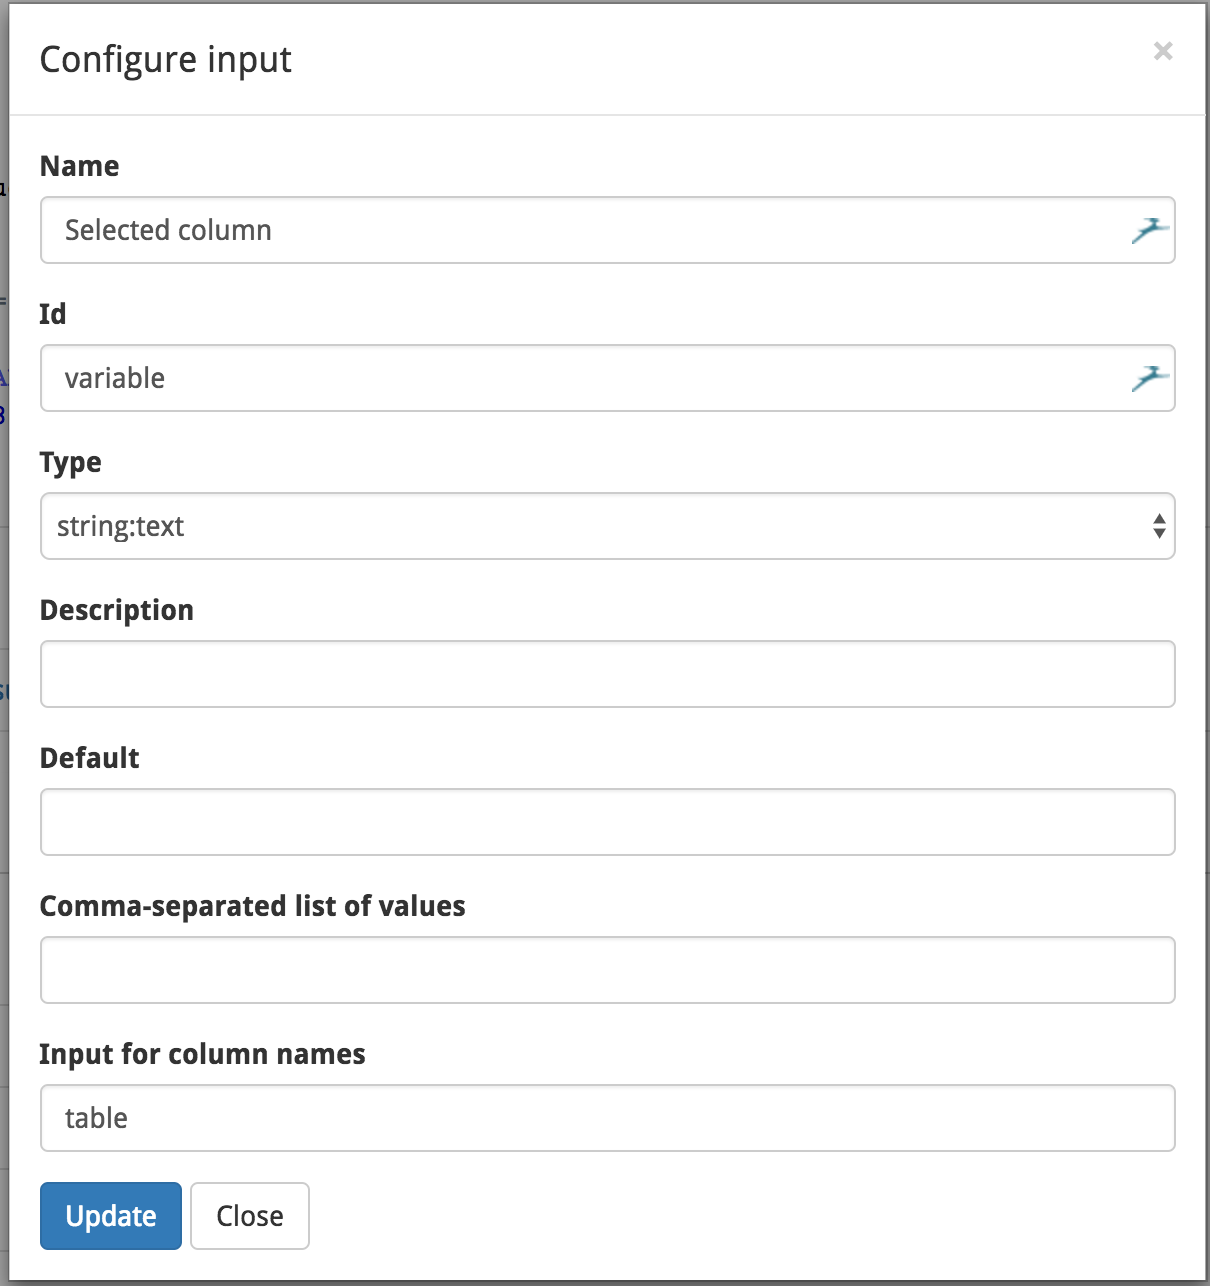
The column to analyze:
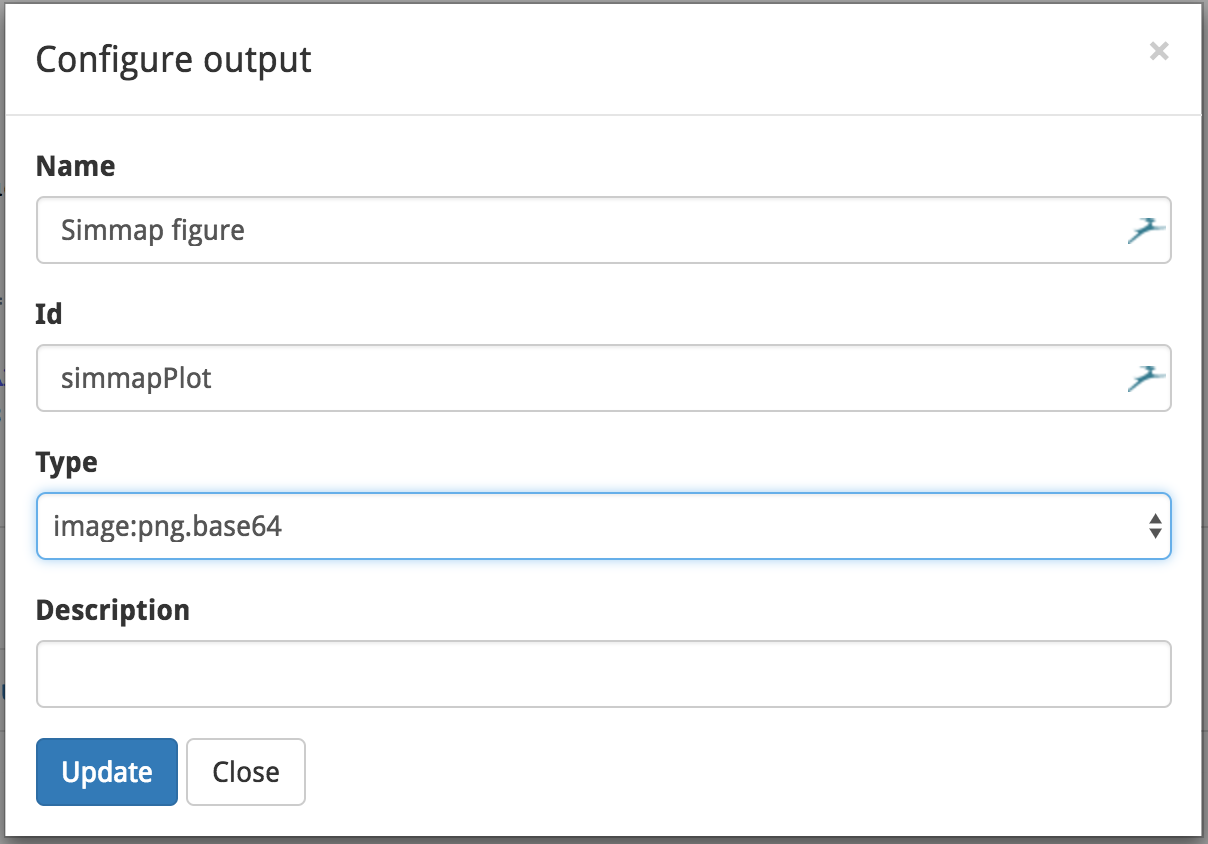
Now, the output, an image:
All together these make three inputs and one output:

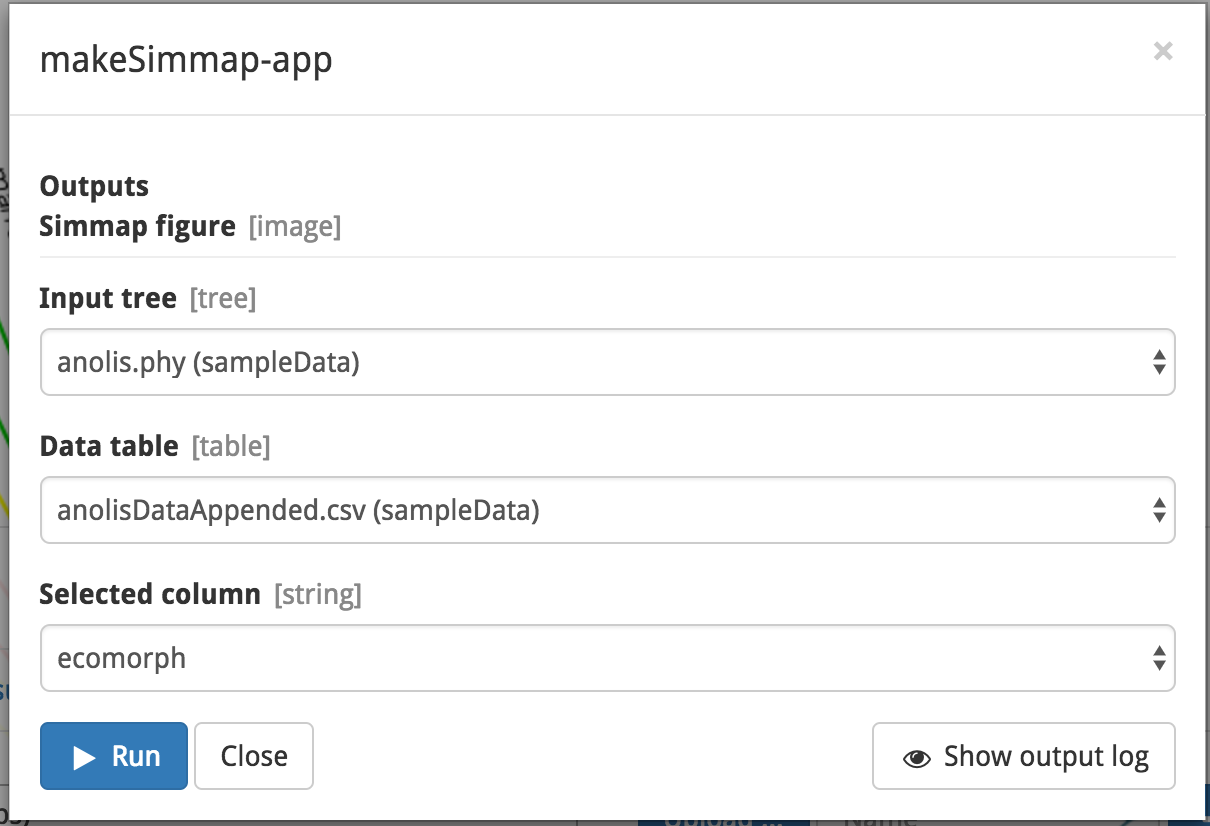
Test your function. You can use the data in the sampleData collection. After clicking “Setup and Run,” set the following:
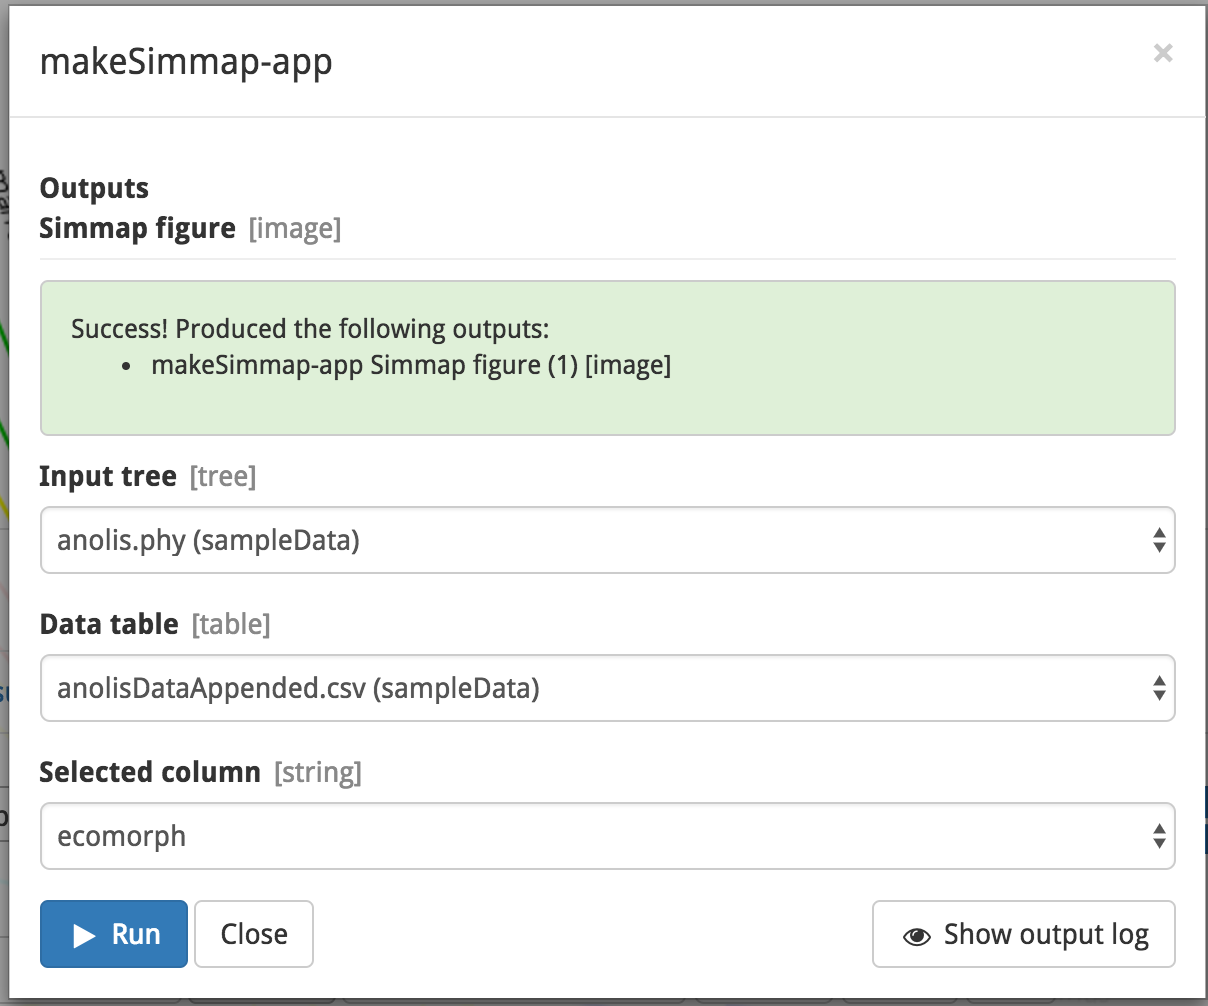
If it works you should see:
Now move to the visualization tab and find this output:

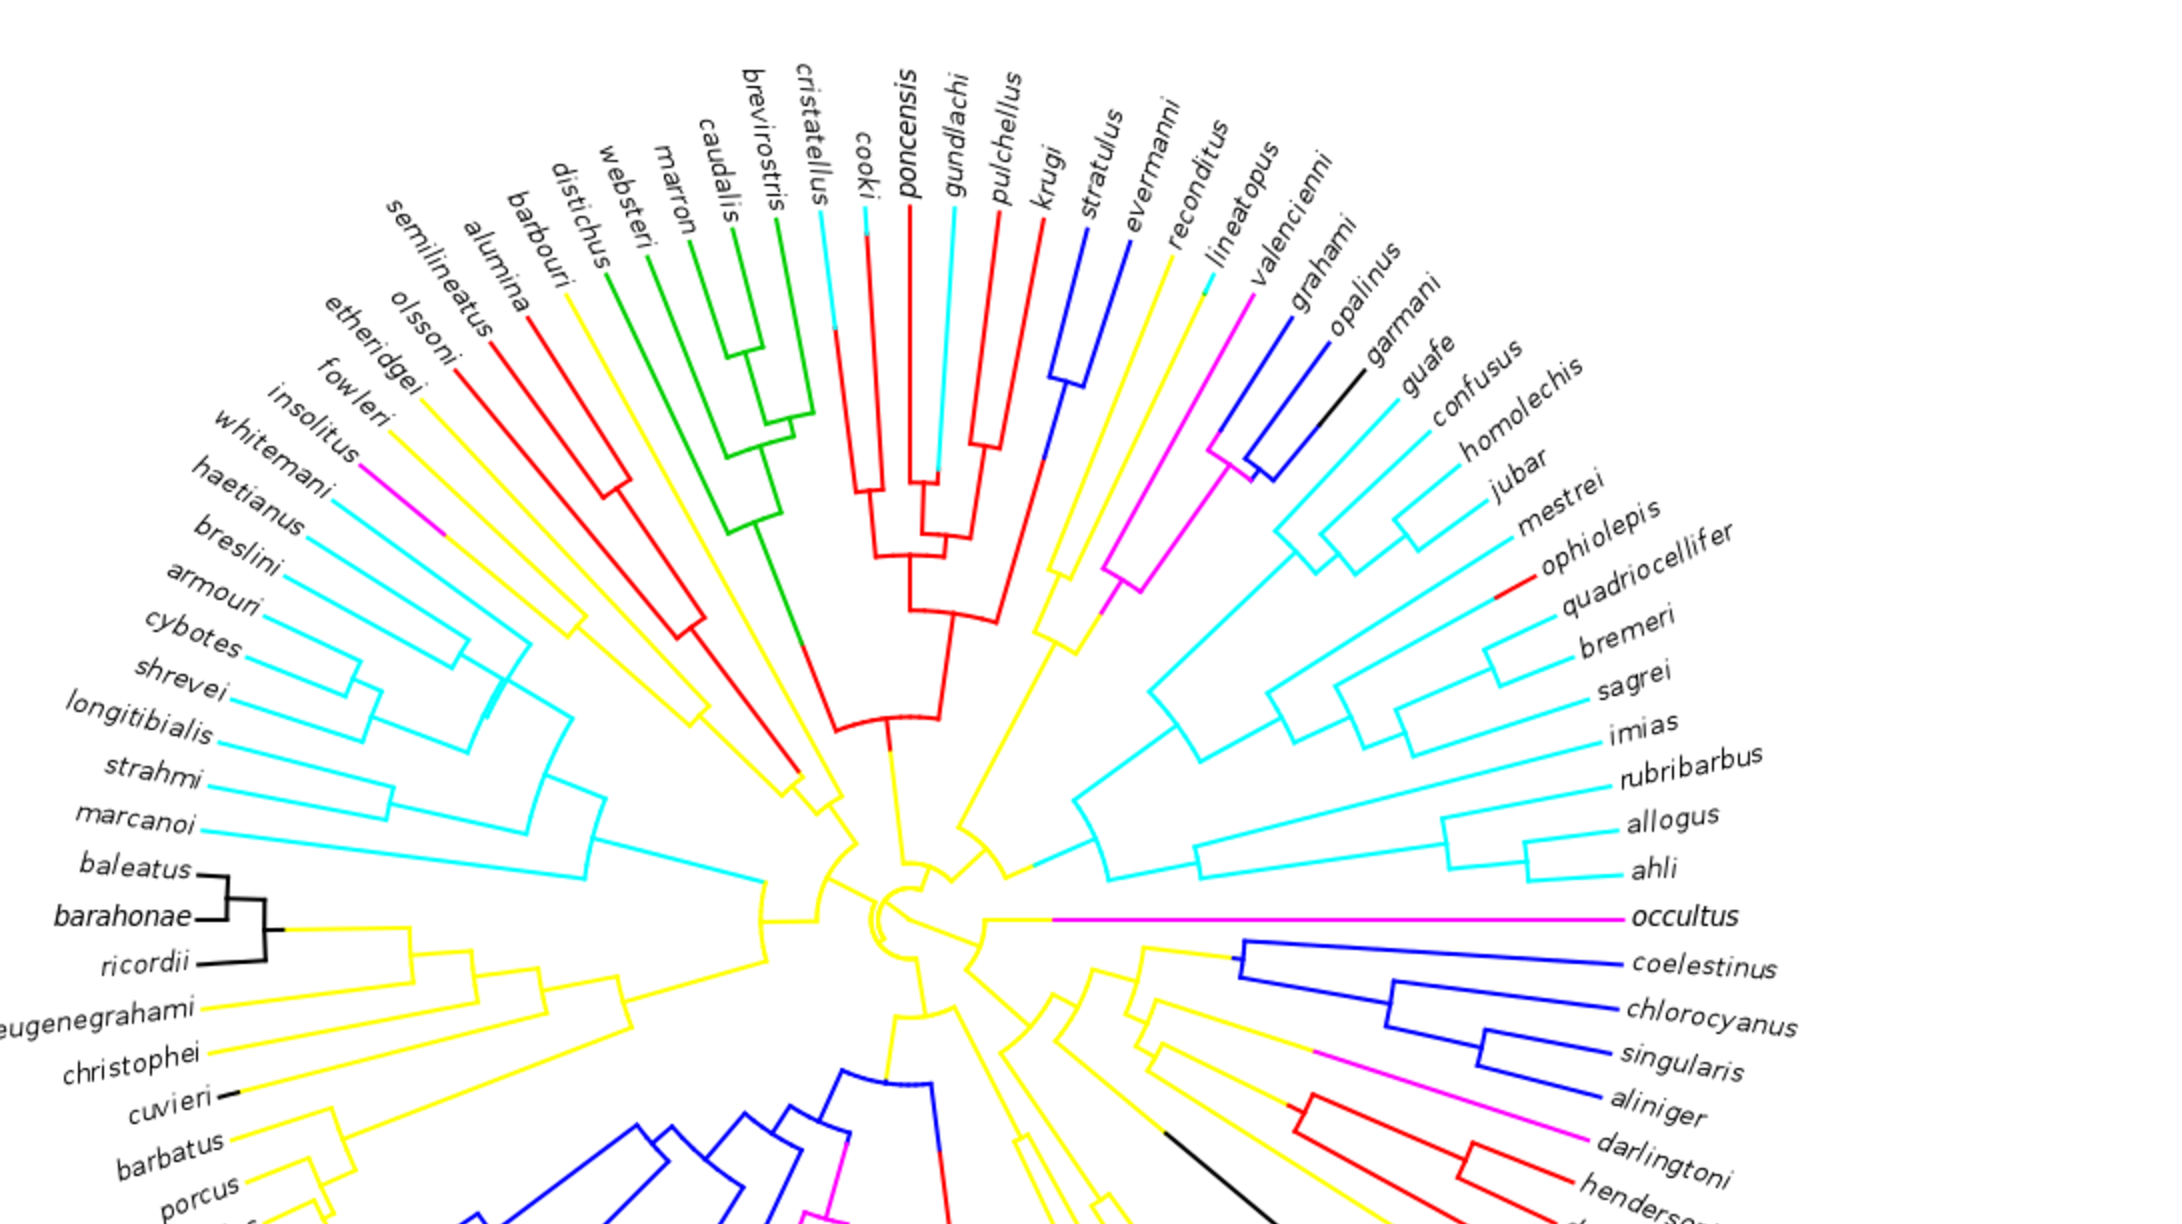
You should see the result:
Now, continue with the original steps - you are ready for step 4.